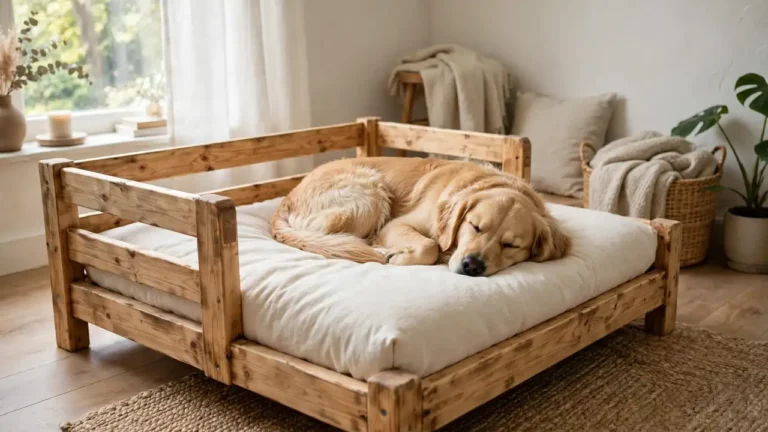
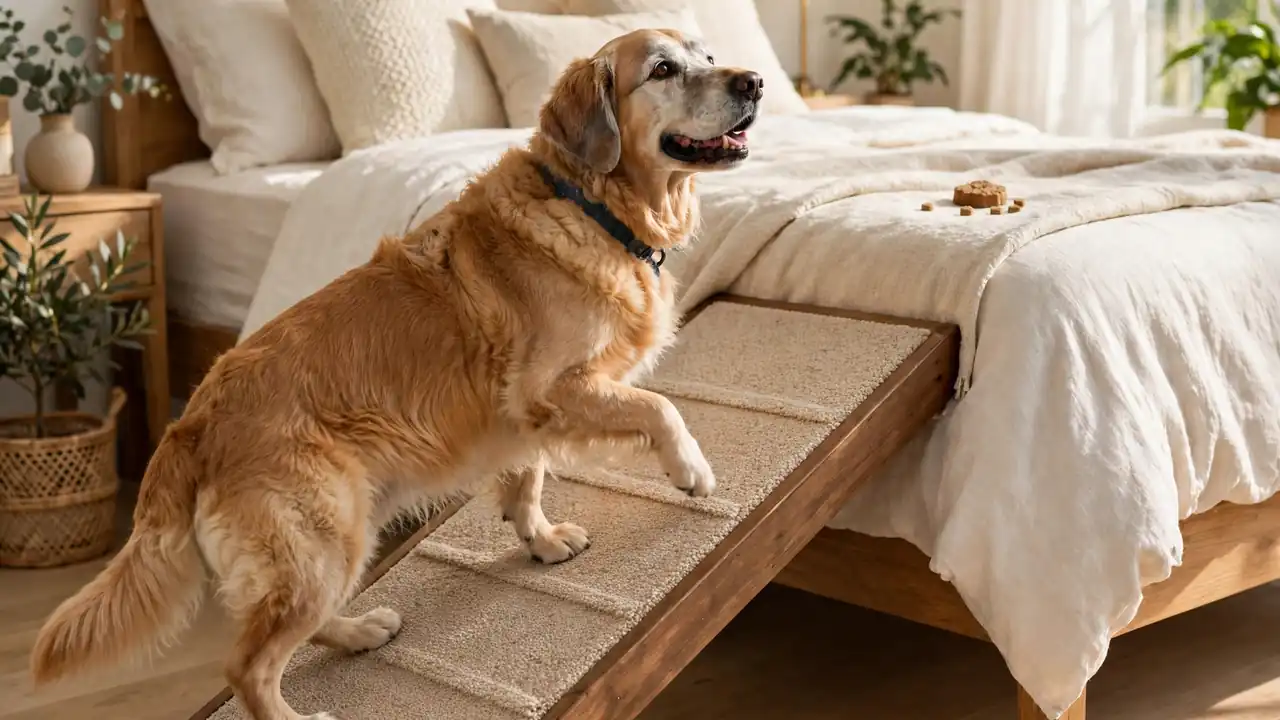
Your old dog stares at the bed, plants his front paws on the mattress, and looks back at you. The jump that used to take a second now takes a brave run-up, and some nights he gives up and sleeps on the floor. A ramp changes that night for good.
This guide shows you how to build a DIY dog ramp for beds and cars from one sheet of plywood, two side rails, and a strip of carpet. The ramp is 8 feet long and 14 inches wide, sized for a bed or car up to 30 inches high, and it holds dogs up to 100 pounds.
The build takes about 3 hours, with around 90 minutes of hands-on work and the rest drying time for glue. You need a saw, a drill, and a staple gun, and every cut is a straight line. By the end, your dog walks up to bed and into the car on a steady slope, with grip under every paw.
Time and Difficulty
Total Time: 3 hours (includes glue drying) | Active Time: 90 minutes | Difficulty: Beginner
What You Need
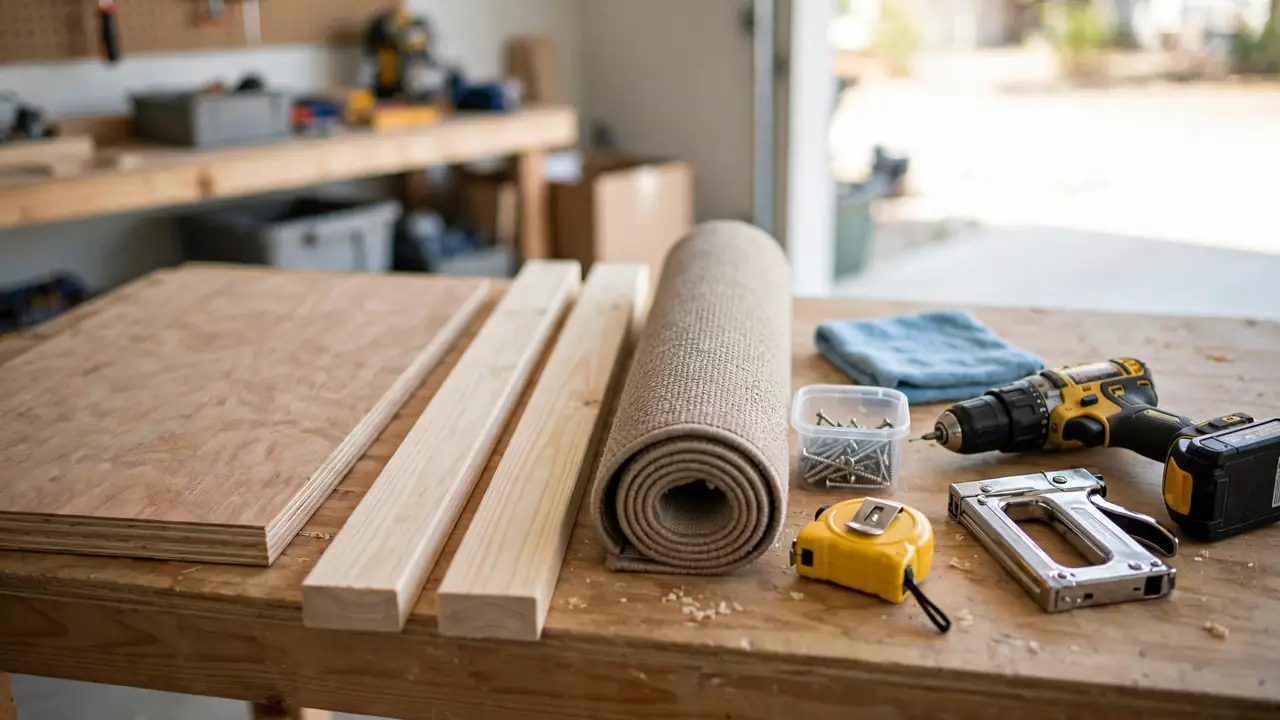
Materials: 1 sheet 3/4-inch plywood, 14 x 96 inches (cut from a 4 x 8 sheet), 2 pine side rails 1 x 2 inches x 8 feet, 2 pine boards 2 x 2 inches x 8 feet (legs and braces), 1 carpet runner 14 inches wide x 8 feet long (low pile, rubber backed), 16 wood screws 1-1/4 inches, 8 wood screws 2 inches, wood glue, staples for a staple gun, 120-grit sandpaper.
Tools: tape measure, pencil, straight edge, circular saw or hand saw, drill with 1/8-inch bit, staple gun, utility knife, sanding block, safety glasses, 2 clamps.
Most hardware stores cut plywood to size for free when you buy it. Ask for the 14-inch-wide strip there if you have no saw at home.
At a Glance
- Measure the height your dog must climb
- Work out the ramp length from the slope
- Gather your plywood, carpet, and tools
- Cut the ramp board and side rails
- Cut the legs and cross braces
- Sand every cut edge smooth
- Screw the side rails onto the ramp board
- Fit the legs and braces under the ramp
- Staple the non-slip carpet in place
- Test your DIY dog ramp with your dog
Measure the height your dog must climb
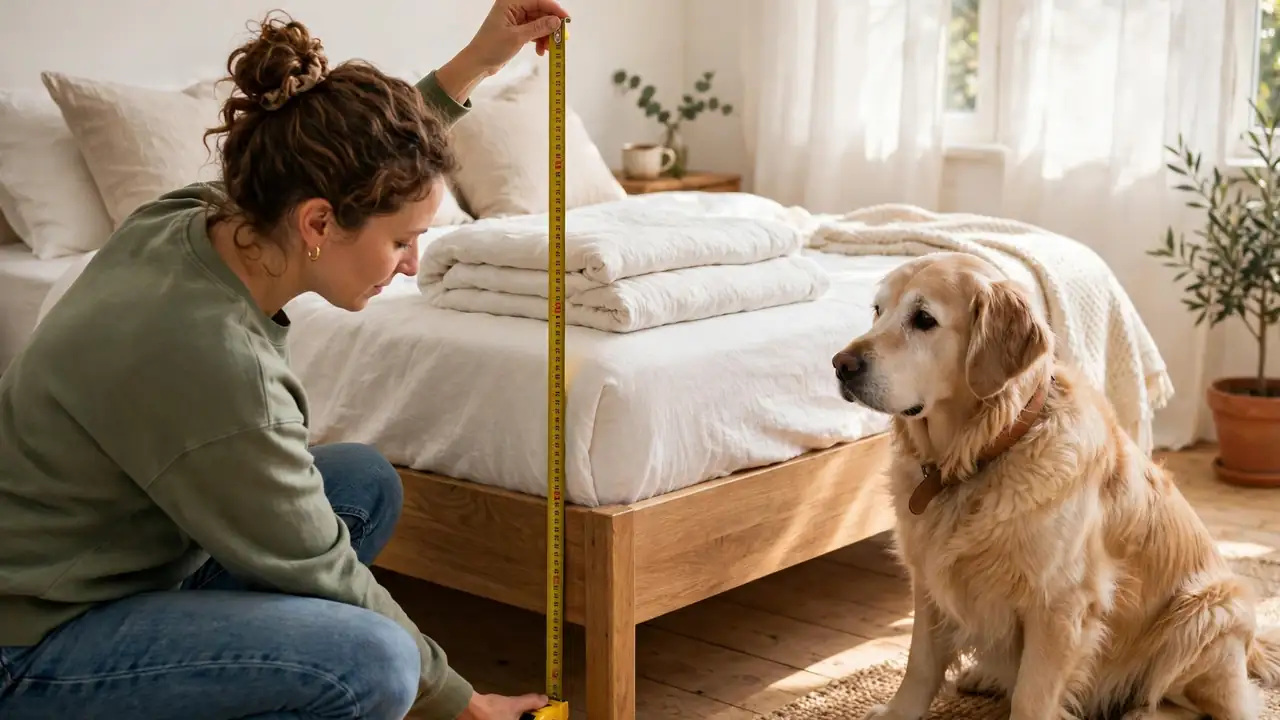
Stand your tape measure on the floor beside the bed and read the height of the top of the mattress. Write that number down: it is the rise your ramp must cover. Measure the car the same way, from the ground to the tailgate floor.
Use the higher of the two numbers for your build, because a ramp built for the taller height works at both spots. Most beds sit between 24 and 30 inches, and most car tailgates sit between 28 and 34 inches.
Work out the ramp length from the slope
A gentle slope is what makes a ramp work for an older dog. Aim for 1 inch of rise for every 3 inches of ramp length: a 30-inch rise needs a 90-inch ramp. Multiply your rise by 3 and you have your length.
Check the floor space beside the bed or behind the car: you need that full length clear, plus room for your dog to step on. A healthy young dog copes with a steeper slope, around 1 inch of rise per 2.5 inches of length, but a senior dog needs the gentler 1:3 slope.
Pro Tip: If your room is short, a hinged ramp that folds in half stores flat under the bed. Add two butt hinges at the middle of the ramp board and fold it away when the car trip is over.
Gather your plywood, carpet, and tools
Lay everything out before the first cut. The plywood sheet is the ramp surface, the 1×2 pine becomes the side rails that keep paws on the board, and the 2×2 pine becomes the legs and braces underneath.
Pick a low-pile carpet with a rubber back: loop pile snags claws, and a smooth rug slides under paws. A hardware store cuts plywood to size for free in most towns, so ask for the 14-inch-wide strip there if you have no saw at home.
Cut the ramp board and side rails
Mark the plywood at your ramp length, 90 inches for a 30-inch rise, and draw a straight line across with a pencil and a straight edge. Clamp the sheet to sawhorses so the cut line hangs past the edge, then saw along it in slow, even strokes, letting the blade do the work.
Cut the two 1×2 side rails to the same length. A straight cut matters more than a fast one: the rails must sit flush along both edges of the ramp board, so check the ends against a square or a book corner before you move on.

Cut the legs and cross braces
The legs hold the high end of the ramp up, so their length is the rise minus the thickness of the board: for a 30-inch rise, cut two legs at 29 inches. Cut two more legs at 14 inches for the middle of the ramp, where the board needs a second pair of feet.


Paid Links - As an Amazon Associate, I earn from qualifying purchases.
Cut three cross braces from the 2×2 pine, each 12 inches long, to tie the legs together. Label each piece with a pencil mark, leg, middle leg, or brace, because the pieces look alike once they are on the bench.
Sand every cut edge smooth
Run 120-grit sandpaper along every cut edge of the plywood, the rails, and the legs, always moving with the grain. Round the corners of the ramp board a little, because a sharp plywood corner catches fur and scratches paws.
Wipe the dust off with a clean rag and run your palm over each edge. If it feels smooth to your hand, it feels smooth to a paw.

Screw the side rails onto the ramp board
Set the ramp board face down on the bench and lay a side rail along each long edge, flush with the top surface. Drill a pilot hole every 18 inches through the rail into the board edge with a 1/8-inch bit, then drive a 1-1/4-inch screw into each hole.
Pilot holes stop the thin pine from splitting. Stand the board up when the screws are in: the rails should rise about 1.5 inches above the surface on each side, forming a shallow channel that keeps paws on the ramp.

Fit the legs and braces under the ramp
Flip the ramp over and mark the leg spots on the underside: the tall legs go 6 inches in from the high end, the middle legs at the halfway mark. Spread wood glue on the top of each leg, press it against the underside, and drive two 2-inch screws down through the ramp board into each leg.
Screw a cross brace between each pair of legs, about halfway down, to stop them wobbling side to side. A brace is the piece that turns four loose legs into a solid frame.
Heads Up: Check the screws after the first week of use. Wood dries and shifts, and a screw that felt tight on day one can work loose. A quick check with a screwdriver takes a minute and keeps the ramp safe.

Staple the non-slip carpet in place
Roll the carpet runner out on the ramp surface between the side rails, rubber side down, and trim it to length with a utility knife. Pull it taut from the high end to the low end, then staple along both edges every 4 inches, keeping the staples close to the rails where paws never reach.
Fold the carpet over the low end and staple underneath, so the ramp meets the floor with a smooth edge instead of a curled lip. A curled lip catches claws and trips a dog on the first step.

Test your DIY dog ramp with your dog
Set the ramp against the bed first, because home is calmer than a car park. Walk up the ramp yourself and bounce gently on it: it should hold your weight without a creak, and if it holds you, it holds your dog.
Place a treat halfway up and another on the bed, then let your dog sniff the ramp and climb at his own pace. Some dogs run straight up on the first try, and some need three short sessions with treats. Never lift a scared dog onto the ramp or push him up from behind.
Troubleshooting
| If This Happens | Try This |
|---|---|
| Ramp wobbles when your dog walks up | Tighten the cross braces, and add a third pair of legs at the quarter mark if the board still flexes. |
| Dog slips on the carpet | Check the carpet is rubber-backed and pulled taut. Swap loop-pile carpet for low pile, which grips claws better. |
| Dog refuses to use the ramp | Move the ramp to a flat floor, lay treats along it, and practise for 5 minutes a day for a week before trying the bed. |
| Ramp is too steep | Lengthen the board: add 12 inches of length for every 4 inches of rise you need to soften. |
Frequently Asked Questions
How long should a dog ramp be?
For a 30-inch bed, about 90 inches (7.5 feet) at a gentle 1:3 slope. Shorter ramps work for small or young dogs, but older dogs need the longer, gentler slope.
What weight can a plywood dog ramp hold?
A 3/4-inch plywood ramp with 2×2 legs and cross braces holds dogs up to 100 pounds, and it should hold your weight when you test it. For dogs over 100 pounds, use 1-inch plywood and add a middle pair of legs.
Can I use this ramp for stairs?
This ramp is built for beds and cars, where the rise is under 34 inches. A full flight of stairs needs a much longer ramp and a different frame, so build a dedicated stair ramp instead.
How do I clean the carpet on the ramp?
Vacuum it weekly, and spot-clean muddy paw prints with warm soapy water and a stiff brush. Let it dry fully before your dog uses it again.
Quick Reference Card
What You Need: 3/4-inch plywood 14 x 96 inches, 2 pine side rails 1 x 2 x 8 feet, 2 pine boards 2 x 2 x 8 feet, carpet runner 14 inches x 8 feet, 1-1/4-inch and 2-inch wood screws, wood glue, staples, 120-grit sandpaper, tape measure, saw, drill, staple gun.
Steps: 1. Measure the height. 2. Work out the length from the slope. 3. Gather your supplies. 4. Cut the board and rails. 5. Cut the legs and braces. 6. Sand the edges smooth. 7. Screw on the side rails. 8. Fit the legs and braces. 9. Staple the carpet in place. 10. Test the ramp with your dog.
Your dog now has a steady way up to bed and into the car, built to his size and his joints. That is the whole point of a project like this: a small build that pays off every single day.
If this guide showed you how to build a DIY dog ramp for beds and cars, save it to your dog DIY board on Pinterest so it is there the next time a friend’s old dog starts eyeing the bed.