Your dog deserves a bed that fits, not a flat cushion sliding across the floor. A simple wooden frame keeps the cushion in place, lifts it off cold floors, and gives your dog a spot that feels like theirs. This guide shows you step by step how to make a DIY dog bed frame with basic tools, in one afternoon, for less than a store-bought frame.
You do not need a workshop or fancy tools. A handsaw, a drill, sandpaper, and a tape measure cover the whole build. The frame uses straight cuts only, so a first-time builder can finish it without a mitre saw or a router.
Plan on about 3 hours from first cut to finished frame, plus drying time for paint or sealer. By the end, your dog has a sturdy bed frame sized to their body, and you have a project you can point to with pride.
Time and Difficulty
Total Time: 3 hours plus drying time | Active Time: 2 hours | Difficulty: Beginner
What You Need
3/4-inch plywood, cut to your frame size (base) • 1×6 pine boards: two at frame length, two at frame width • Four 4-inch leg blocks (2×2) • 1-1/4 inch wood screws • Wood glue • Sandpaper: 80-grit and 120-grit • Pet-safe paint or clear sealer • Dog cushion or bed pad to fit the frame • Tape measure • Pencil • Handsaw or circular saw • Drill • Carpenter’s square • Clamps (helpful, not required)
At a Glance: The 8 Steps
1. Measure your dog and pick the frame size
2. Cut the base and side boards to size
3. Sand every board smooth
4. Screw the sides into a rectangle
5. Bolt on the legs and corner braces
6. Paint or seal the wood
7. Drop in the cushion and bedding
8. Put the bed in its spot and invite your dog in
Measure your dog before you make a DIY dog bed frame
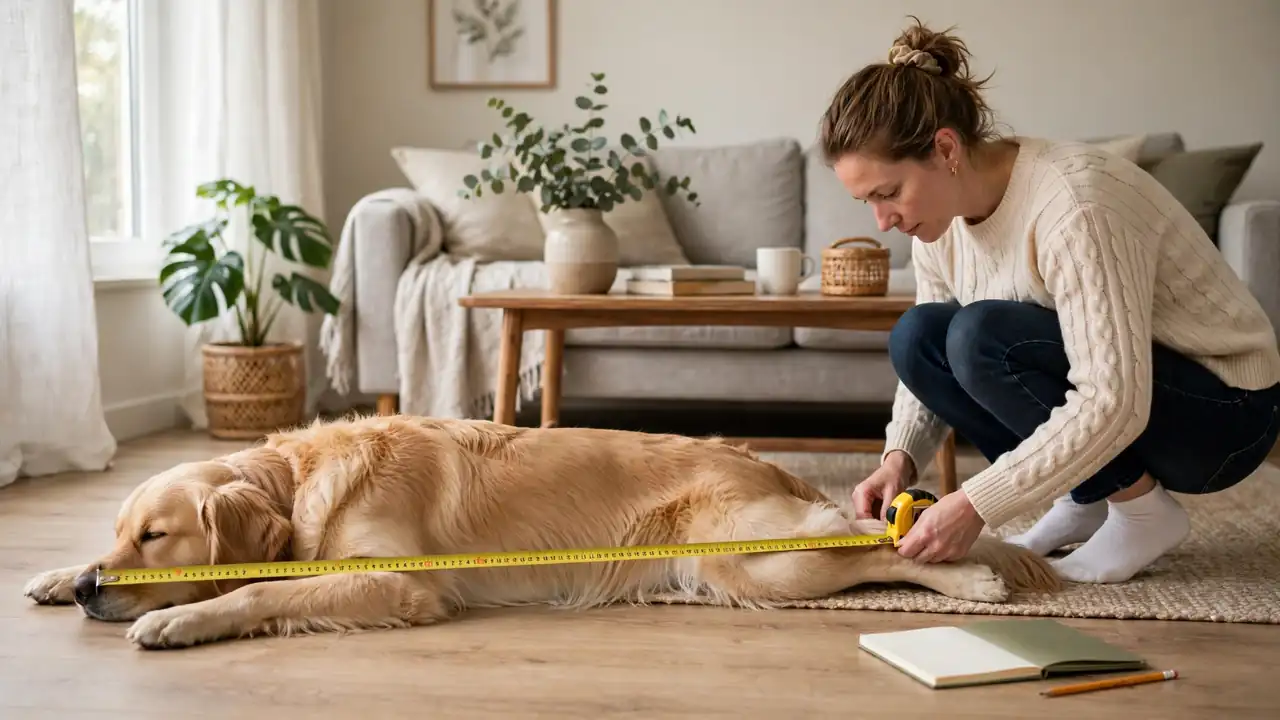
Ask your dog to lie down on their side, stretched out, on the floor. Measure from nose to tail base, then add 6 inches.
That number is your frame length. Measure across the widest part of their body and add 4 inches for the width.
A frame for a medium dog measures about 36 by 27 inches. Big dogs need 48 by 36 inches, and small dogs fit a 28 by 20 inch frame. Write your numbers on a scrap of paper and keep it by your saw.
Cut the base and side boards to size
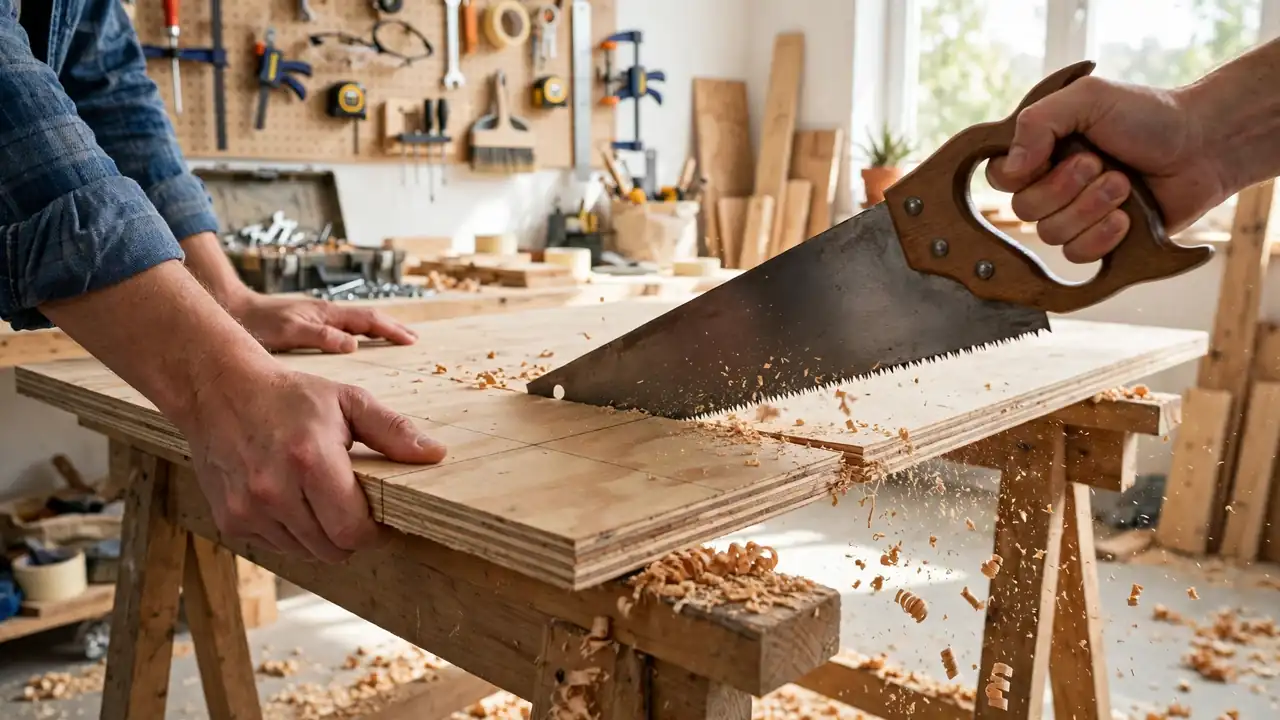
Mark your plywood base first, using a pencil and a straight edge. Cut along the line with a handsaw or a circular saw, keeping the blade on the waste side of the mark. A steady, slow stroke beats a fast, wobbly one.
Cut the four side boards next: two at your frame length and two at your frame width, minus 1-1/2 inches so they fit inside the long sides. Label each board with a pencil so you know which side it belongs to.
Heads Up: Clamp the board before you cut. A board that shifts mid-cut binds the saw and leaves a crooked edge. Clamp both ends to a workbench or a pair of sawhorses, and keep your free hand clear of the blade path.
Sand every board smooth
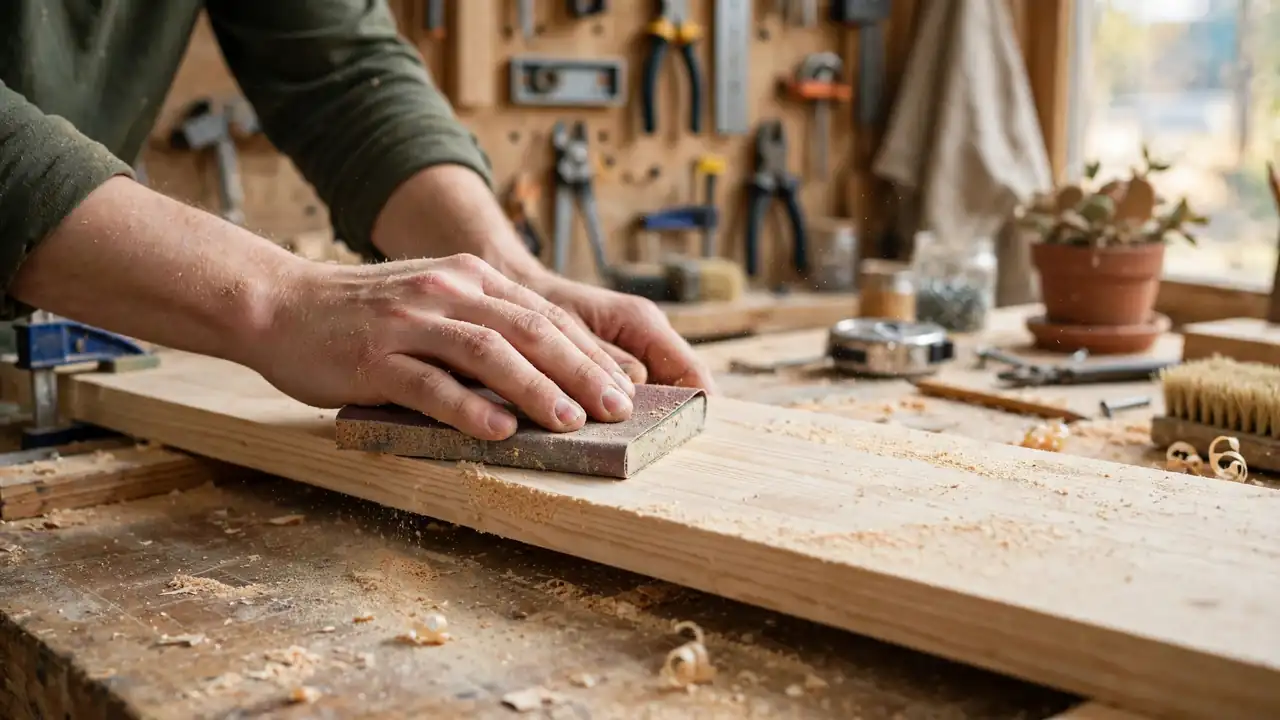
Start with 80-grit sandpaper and work along the grain, not across it. Sand the top face and all four edges of each board. Rough edges and splinters are the parts your dog will touch first, so give them the most attention.
Switch to 120-grit sandpaper for a second pass. Run your palm over each board when you finish. If you feel a snag, sand that spot again until it feels smooth under your hand.
Pro Tip: Fold a small square of sandpaper around a wood block. It keeps your fingers off the grit and gives you a flat, even surface to press with.
Screw the sides into a rectangle
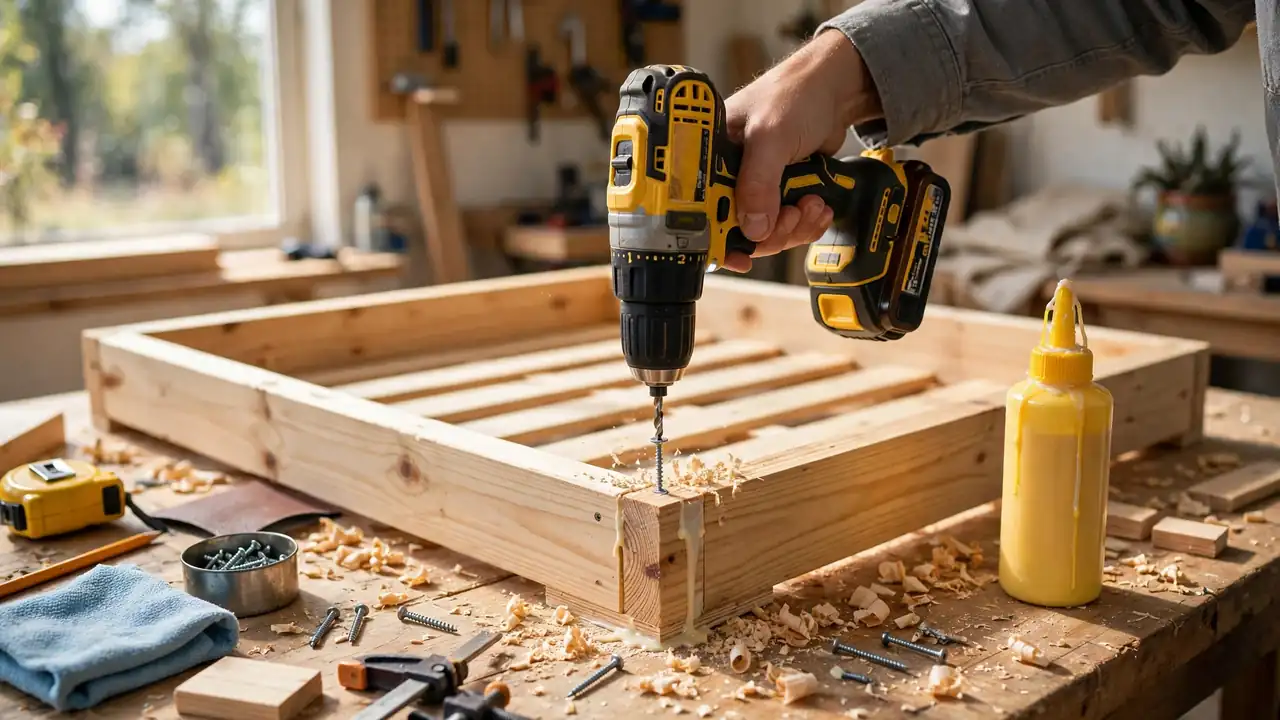
Stand the two long side boards on edge, 27 inches apart, with the short boards between them at each end. Spread a thin bead of wood glue along each joint before you fit the pieces together. The glue holds the joint while the screws do the heavy work.
Drill two pilot holes through each corner, then drive 1-1/4 inch screws through them. Check the corners with a square as you go. A frame that starts square stays square, and a crooked frame shows in the finished bed.


Paid Links - As an Amazon Associate, I earn from qualifying purchases.
Bolt on the legs and corner braces
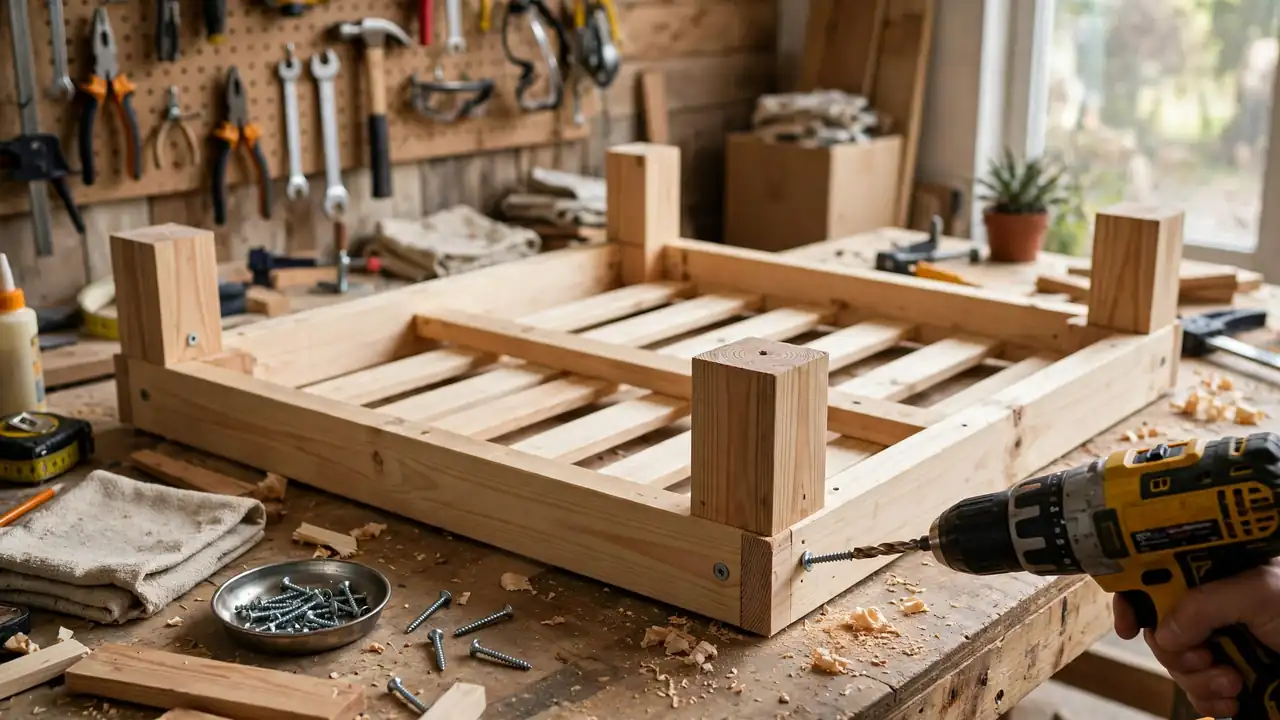
Flip the frame upside down on your workbench. Set a 4-inch leg block inside each corner, flush with the top edge of the side boards. Screw each leg to both side boards with two screws per side.
Add a small corner brace inside each corner if your dog is a heavy leaner. One screw into the side board and one into the leg holds the brace firm. Flip the frame over and check that all four legs touch the floor at once.
Paint or seal the wood
Wipe the frame with a damp cloth and let it dry for 10 minutes. Pick a pet-safe paint or a clear sealer and check the label for a low-VOC note. Dogs chew and lick, so the finish on their bed has to be safe as well as pretty.
Brush on a thin coat, following the grain, and let it dry fully before the second coat. Two thin coats last longer than one thick coat, and they dry without drips. Sand lightly with 220-grit paper between coats if the surface feels rough.

Drop in the cushion and bedding
Set the plywood base inside the frame and press it flat. Lay the cushion on top and check the fit: it should fill the frame edge to edge, with no gaps at the corners. Trim the cushion cover if it bunches at the sides.
Add a washable blanket on top for the dogs that circle before they lie down. A spare cover means you can wash one and use the other. Tuck the corners of the blanket under the cushion so it stays put.
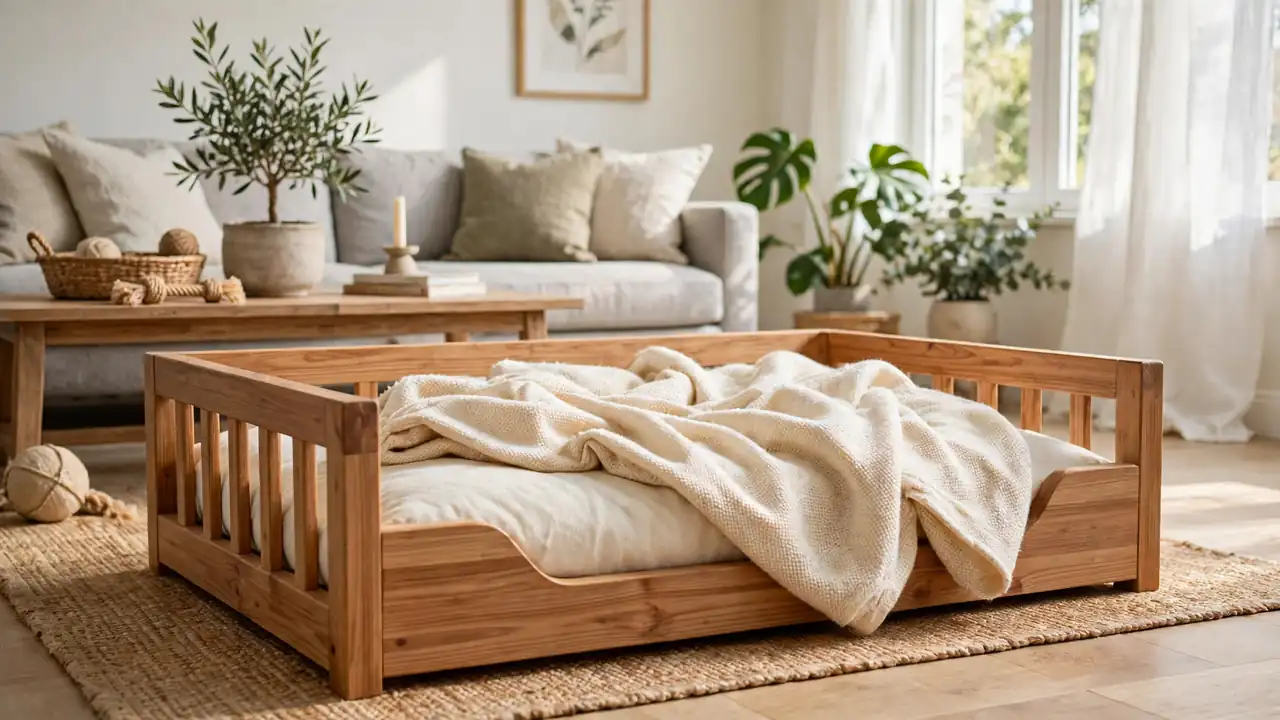
Put the bed in its spot and invite your dog in
Pick a quiet corner away from drafts and foot traffic, near the spot your dog already naps. Set the frame down and press each corner to check it sits flat. A frame that rocks will put your dog off using it.
Place a treat on the cushion and let your dog find it on their own. Praise the first lie-down, then leave the bed alone. Most dogs claim a new bed within a day, and a few need a week before it feels like theirs.
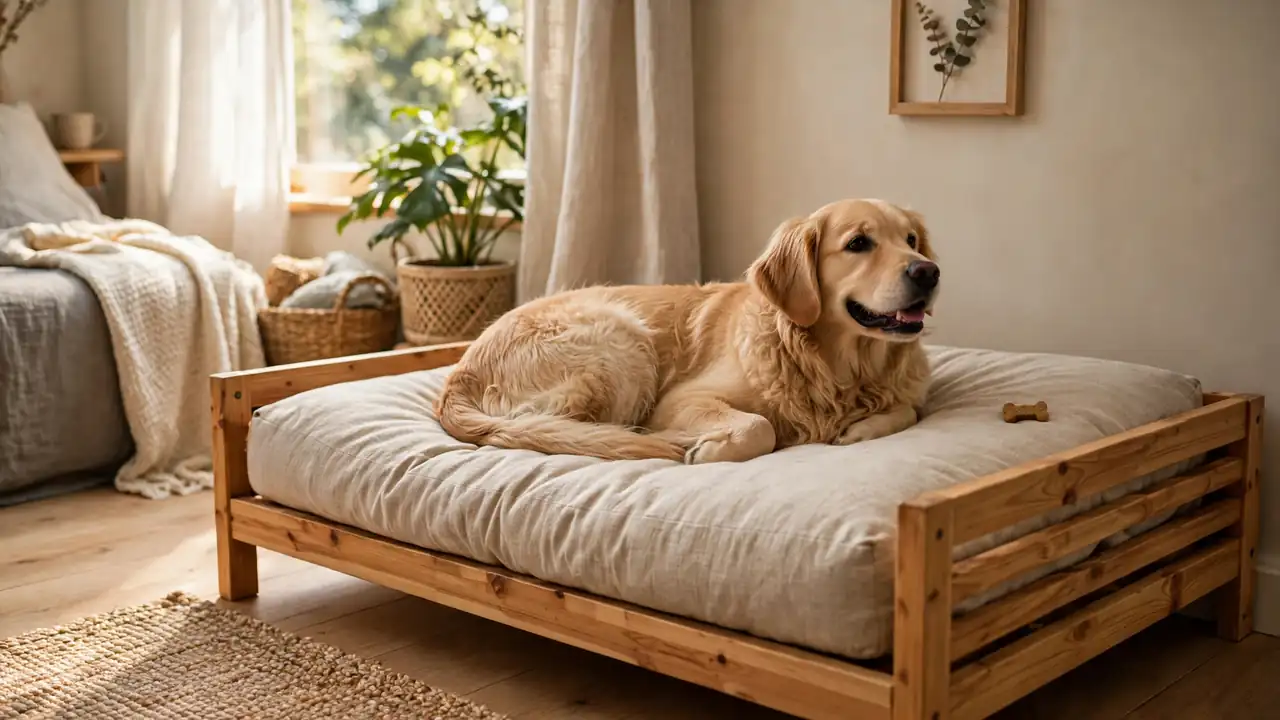
Before and After: What Changes
Before: Your dog sleeps on a flat cushion that slides across the floor, bunches up at the edges, and ends up in the middle of the room.
After: Your dog has a sturdy wooden frame that holds the cushion in place, lifts it off the cold floor, and marks a spot that is clearly theirs.
Troubleshooting: If This Happens, Try This
| If This Happens | Try This |
|---|---|
| Frame rocks on the floor | Check leg lengths with a tape measure. Trim the long leg a fraction at a time until all four touch. |
| Corner joints gape open | Loosen the screws, add wood glue, clamp the corner square, and drive the screws again. |
| Paint stays tacky | Wait a full 24 hours in a warm, dry room. Thick coats and cold air slow drying. |
| Dog ignores the new bed | Put a worn blanket or an old T-shirt that smells like you on the cushion. Move the bed to the spot your dog already naps. |
Frequently Asked Questions
How much does a DIY dog bed frame cost? Most builds cost $30 to $60 in wood, screws, and finish, if you already own a saw and a drill. A store-bought wooden frame in the same size often costs twice that, before delivery.
What wood is safe for a dog bed frame? Pine, plywood, and poplar are safe, common choices. Skip pressure-treated wood for indoor beds, and check that any paint or sealer is labelled pet-safe and low-VOC.
How big should a dog bed frame be? Measure your dog lying flat, nose to tail base, and add 6 inches. Add 4 inches to their body width.
A frame that is too small gets ignored, and one that is too big slides around the room.
Can I build this without a power saw? Yes. A handsaw cuts every piece in this build, and most hardware stores will cut plywood to size for a small fee.
Ask for the cuts when you buy the wood, and the build takes half the time.
Quick Reference Card
What You Need: 3/4-inch plywood base, 1×6 pine side boards, four 4-inch leg blocks, 1-1/4 inch screws, wood glue, 80-grit and 120-grit sandpaper, pet-safe paint or sealer, cushion to fit.
Steps: 1. Measure your dog • 2. Cut boards to size • 3. Sand smooth • 4. Screw sides into a rectangle • 5. Bolt on legs and braces • 6. Paint or seal • 7. Drop in cushion • 8. Place bed and invite your dog in.
Remember: Measure twice, cut once. Two thin coats beat one thick coat. Let paint dry a full 24 hours before your dog uses the bed.
You now know how to make a DIY dog bed frame, from measuring your dog to the first lie-down on the finished bed. It took one afternoon, basic tools, and a handful of straight cuts.
Save this guide to your dog home board on Pinterest so you can find it when you are ready to build.