Leashes end up everywhere. One hangs over a chair back, one slips behind the shoe rack, and one hides in a coat pocket right when you need to leave. The result is a slow start to every walk and a small pile of straps by the door that never looks tidy.
A holder fixes that daily friction with one set spot. You grab the leash, clip it on, and go, and the leash goes back to the same hook when you return. It also keeps wet straps off the floor and stops long leads from tangling around keys and bags. A good holder does not need to cost much.
Below are 12 DIY dog leash holders for every entryway, from a plain peg rail to a no-drill rail for renters. Each idea lists what you need, how to build it, and the entryway it suits best, so you can pick one and finish it in an afternoon.
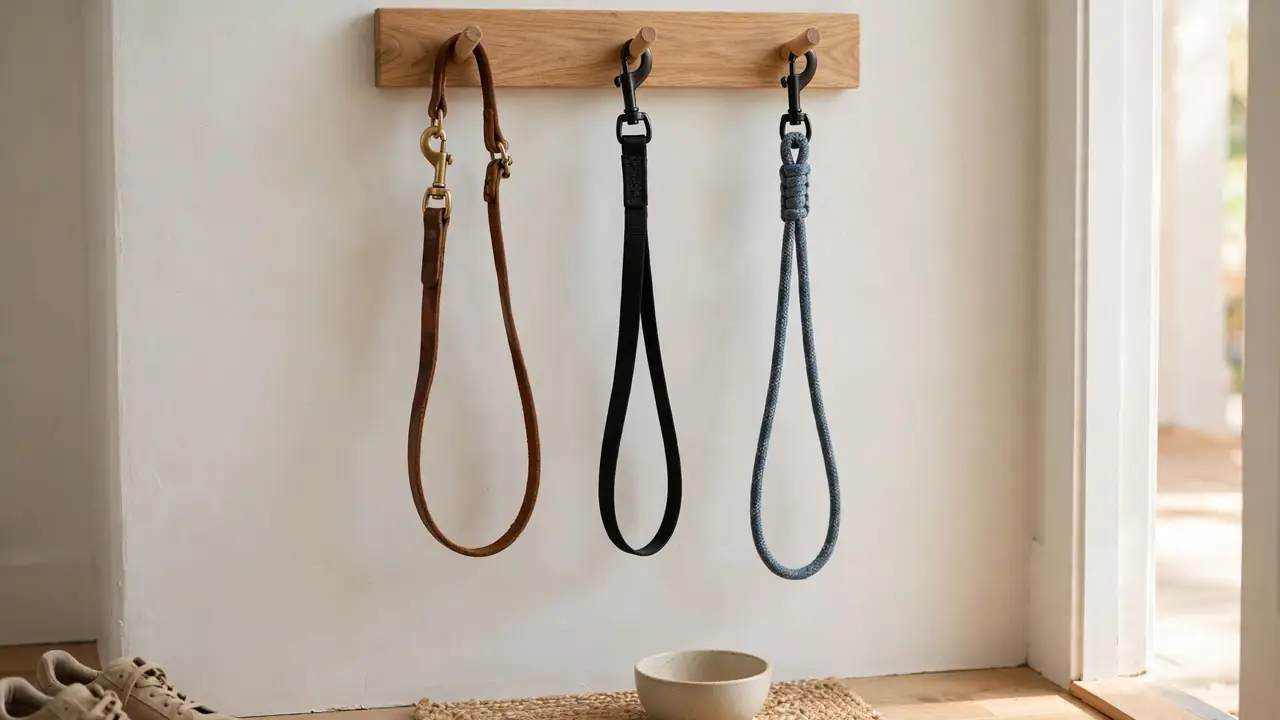
1. Build a Simple Wooden Peg Rail by the Door
Start here if you want a fast win. A peg rail is one board, three or four pegs, and two screws into a wall stud, and it holds leashes without fuss. Sand a pine or oak board, stain or paint it to match your trim, then space the pegs about 15 cm apart so loops hang without overlapping.
- Fix the rail at hand height, about 120 cm from the floor, so kids can reach it too.
- Use one peg per dog, plus one spare peg for a spare lead or a poop bag holder.
- Loop each leash over its peg with the clip facing out, so it unhooks in one pull.
This rail suits narrow halls best, since it sticks out only a few centimetres from the wall.
2. Add a Shelf With Hooks Underneath for Small Entryways
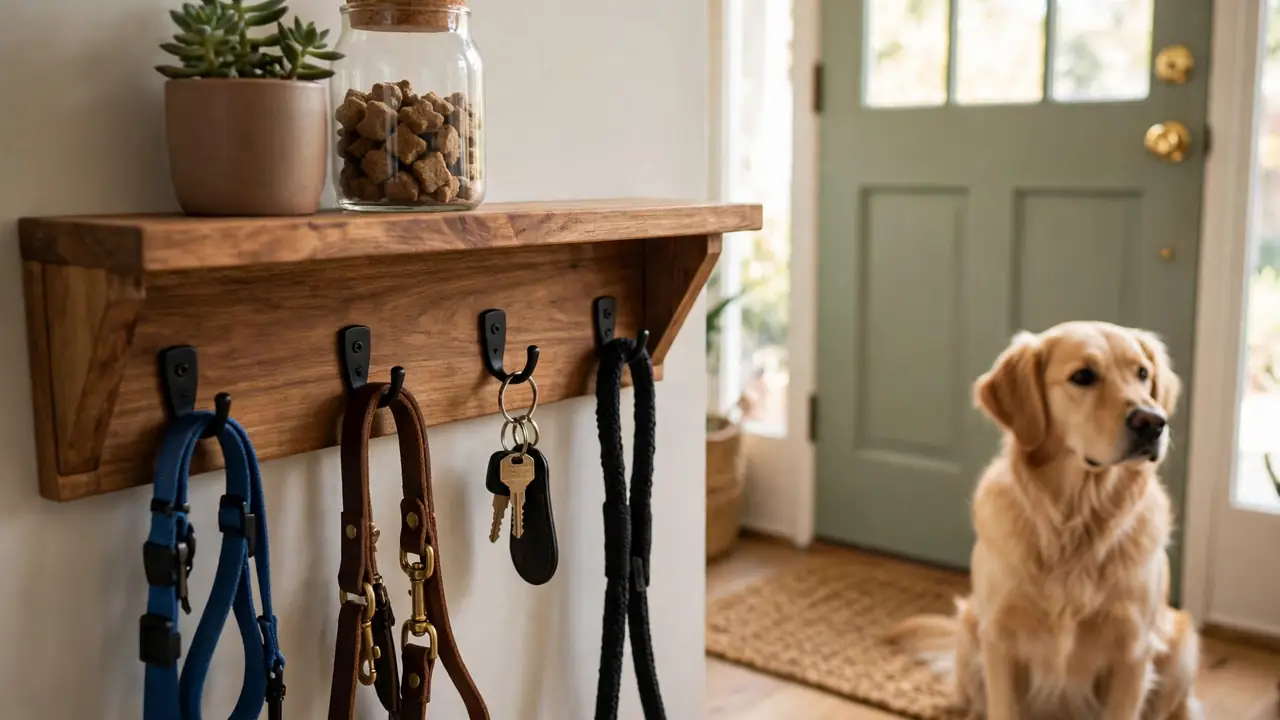
A shelf does two jobs at once. The top holds a treat jar, a small plant, or sunglasses, and the hooks below hold leashes where you can see them. Buy a ready-made shelf with hooks, or screw three sturdy hooks under a plain timber shelf and fix it to studs.
Keep the shelf shallow, about 15 cm deep, so it does not crowd a tight hall. Put heavier items at the back of the shelf, and leave the front clear so nothing falls when you grab a leash in a hurry.
💡 Quick Tip
Hang the longest leash on the end hook. It swings free there instead of catching on the leash beside it.
3. Turn a Picture Ledge Into a Leash Rail
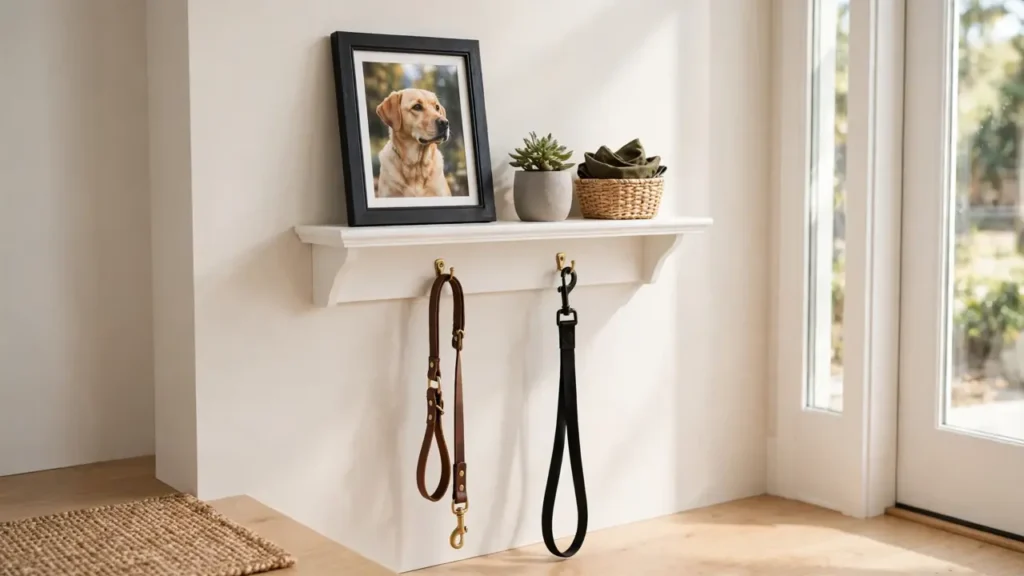
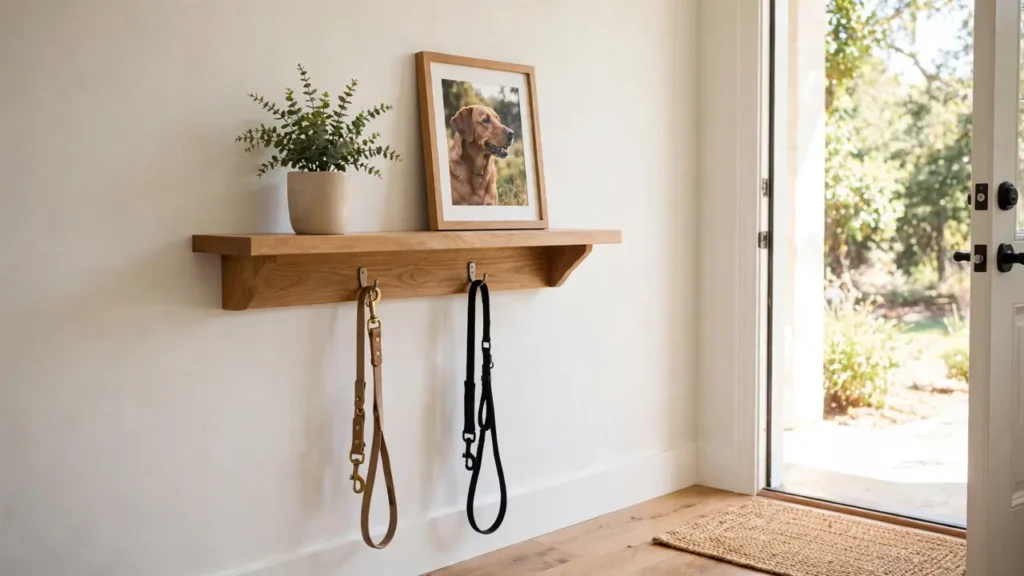
A picture ledge already has the right shape for this job. The ledge holds a framed photo of your dog, and hooks screwed into its underside hold the leashes below it. That pairing looks planned rather than patched together, and it costs little if you already own a ledge.
- Choose a ledge at least 60 cm long so two leashes hang without touching.
- Screw small cup hooks into the base, not the front edge, so the weight pulls straight down.
- Keep the photo light, and use a frame with a secure back so it stays put when leashes move.
This works well in flats where one wall must do a lot, since the ledge adds storage and a bit of warmth in one strip of wood.
4. Mount a Pegboard Panel for Leashes, Keys, and Bags
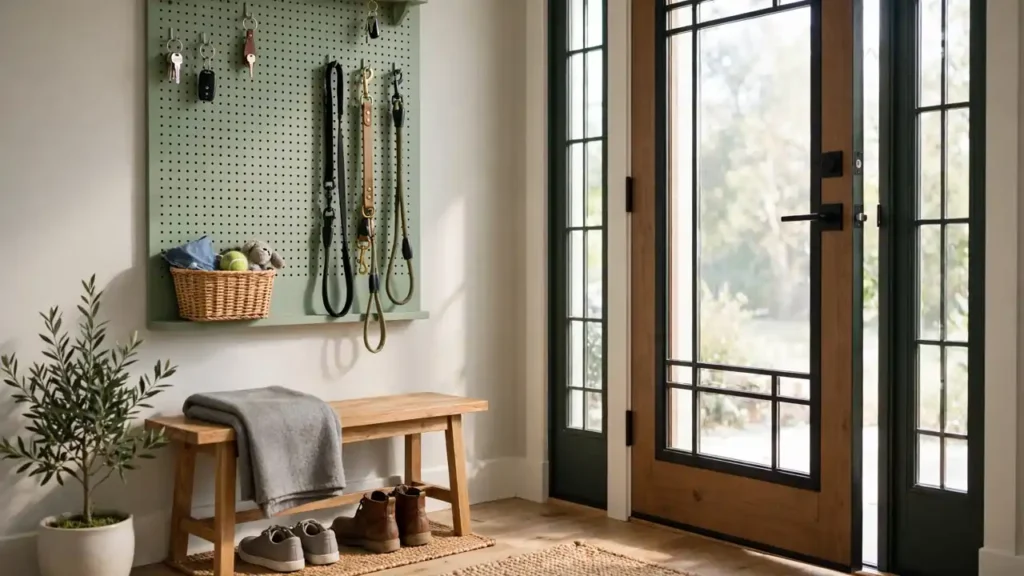
When one dog means three leads, a training lead, a poop bag pouch, and a treat bag, a single rail runs out of room fast. A pegboard panel solves that by giving you a whole wall section to arrange. Cut a board to fit the space beside your door, paint it, and mount it on battens so hooks sit clear of the wall.
Arrange the panel by habit. Leashes go at hand height, keys go higher, and bags hang at the bottom where they do not block anything. Move a hook in seconds when your routine changes, since nothing is fixed in place.
What to grab first
5. Give Each Dog a Labelled Hook in a Row
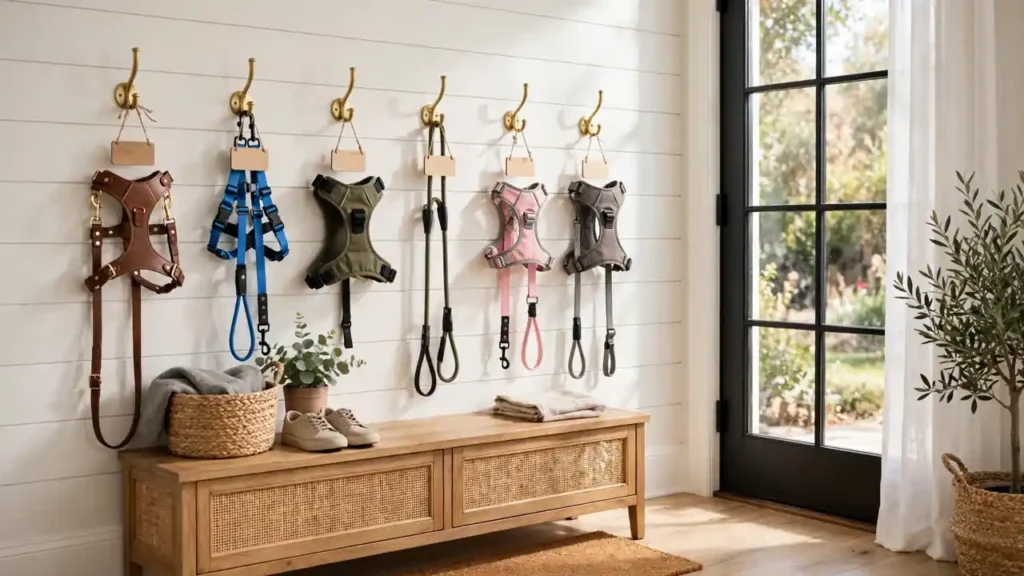
Multi-dog homes need a system, not just more hooks. A row of single wall hooks, each with a small name tag, stops the daily mix-up where the short lead goes out with the big dog and the long lead stays home. Space hooks 20 cm apart so wide harnesses do not tangle.
Use wooden tags, small chalk tags, or painted discs for names. Hang each dog’s lead, harness, and poop bag pouch on its own hook, and teach everyone in the house to return gear to the right name. The routine holds even on rushed mornings.
Leashes share one hook, harnesses slide off, and nobody knows which lead belongs to which dog.
Each dog has a named hook, so gear goes back to the right spot and walks start without sorting.
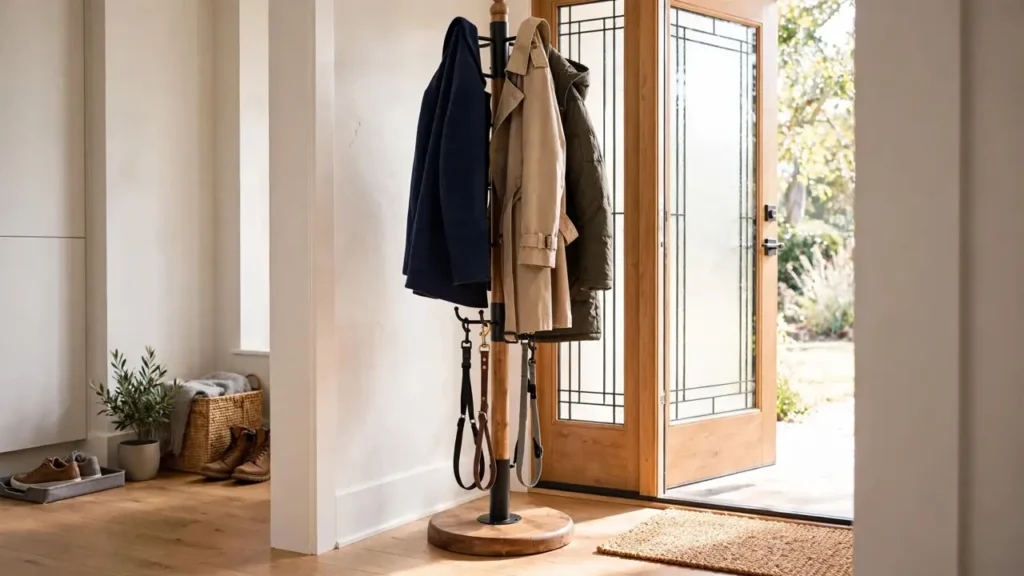
6. Stand a Coat Rack by the Door for a No-Drill Option
Not every wall can take screws, and some entryways have no free wall at all. A freestanding coat rack fills that gap. Pick a sturdy rack with a wide base, since a rack that tips when a dog pulls a leash is worse than no rack at all.
- Place the rack within one step of the door, not across the room.
- Hang leashes on the lower hooks and coats above, so leads stay easy to reach.
- Weight the base with a heavy basket of dog toys if the rack feels light.
A rack also moves with you. Take it to a new flat, shift it when furniture changes, and keep the same walk routine without new holes in the wall.


Paid Links - As an Amazon Associate, I earn from qualifying purchases.
Test the base. Push it firmly. It should not rock.
Hang the everyday leash on the lowest hook.
Keep spare leads higher, out of reach of jumping paws.
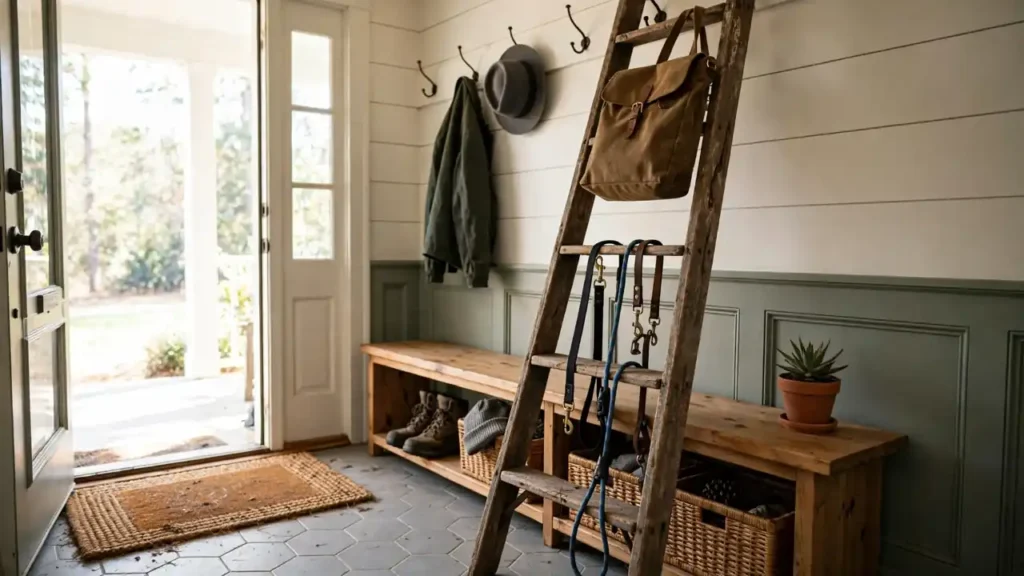
7. Lean a Wooden Ladder Against the Wall for a Rustic Holder
An old wooden ladder gives a holder with character and zero drilling. Lean it at a safe angle against the wall beside the door, fix the top to the wall with a small bracket if kids or big dogs bump it, and hang leashes from the rungs. The lower rungs hold leads, and the top rungs hold a bag or a towel.
Watch the width. A ladder eats more floor space than a rail, so it suits wide entryways and mudrooms better than narrow halls. Sand rough spots so straps do not catch, and skip ladders with wobbly rungs.
Fix the top to the wall with a small bracket.
Sand every rung smooth before hanging straps.
Leaving a ladder loose in a busy walkway.
Hanging heavy bags on the top rung only.
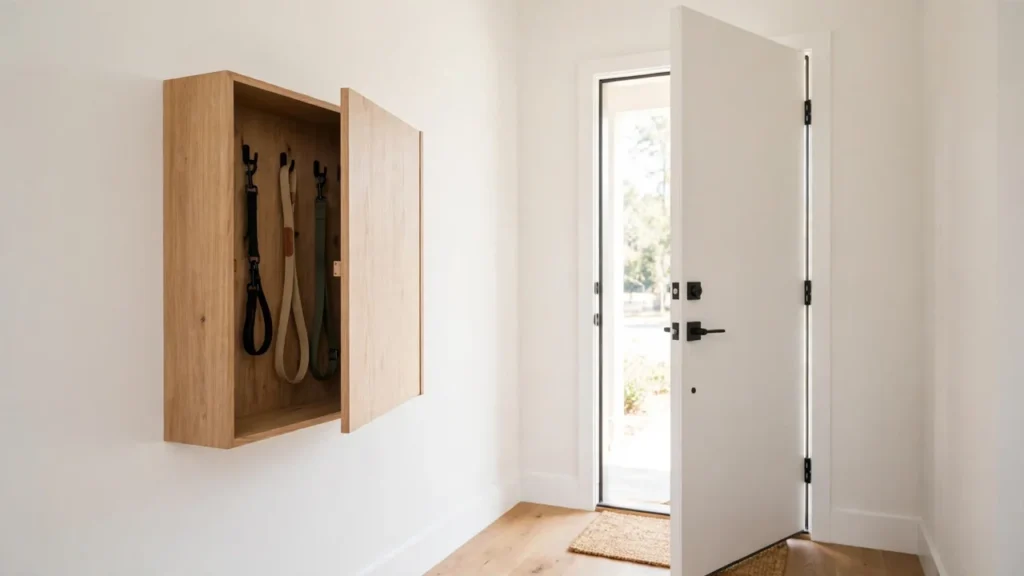
8. Hide Leashes Inside a Small Key Cabinet
Some people like the door area to look clear, with nothing hanging in sight. A shallow wall cabinet does that job. Mount it beside the door, screw small hooks inside the door or the back panel, and close the door when guests arrive. Leashes stay handy and out of view.
Pick a cabinet at least 10 cm deep, or thick leads will stop the door closing. Line the inside with a strip of felt if metal clips rattle, and keep one hook free near the front for the lead you use every day.
| Open rail | Closed cabinet |
|---|---|
| Fastest grab, one motion | Two motions, open then unhook |
| Gear stays visible | Gear stays hidden |
| Best for busy walk routines | Best for tidy, minimal halls |
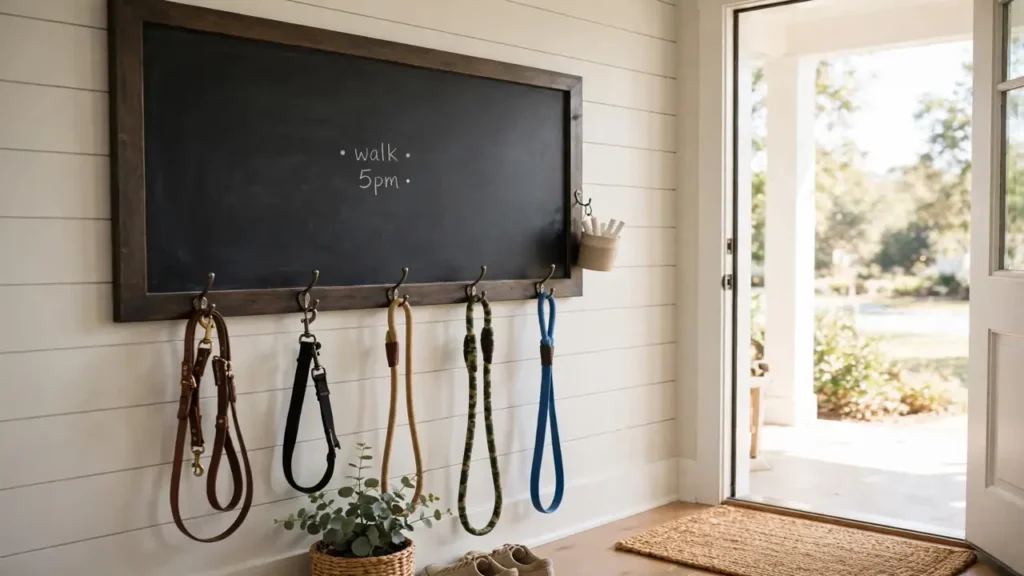
9. Build a Chalkboard Panel With Hooks for Walk Notes
A chalkboard panel pairs storage with a message board. Paint a board with chalkboard paint, mount hooks along the bottom edge, and use the board for walk times, vet dates, or a note that the dog already had dinner. That last note alone saves a lot of double feeding in busy homes.
- Write the dog’s walk time and feeder in chalk each morning.
- Keep chalk in a small cup hooked to the side, so it does not vanish.
- Wipe the board weekly, or old notes pile up and stop being useful.
Families with kids like this one, since children can check the board and see at a glance whether the dog still needs a walk.
A holder only helps if the leash goes back to it every single time, so make returning the lead part of coming home.
10. Fit a Floating Shelf With a Photo Frame and Hooks
A floating shelf looks light on the wall, and it hides its fixings, so the eye sees wood and hooks and nothing else. Mount it with hidden brackets rated for the weight, then screw hooks into the underside. A framed dog photo on top turns a plain holder into a small display.
Do not overload it. One photo, one small plant, and two leashes is plenty. A floating shelf that sags looks worse than a plain rail, so check the bracket rating before you buy and fix into studs where you can.
⚠️ Watch Out
Hidden brackets have weight limits. Check the rating first, and test the shelf with a firm pull before hanging leashes on it.
11. Make a Holder From a Reclaimed Pallet Board
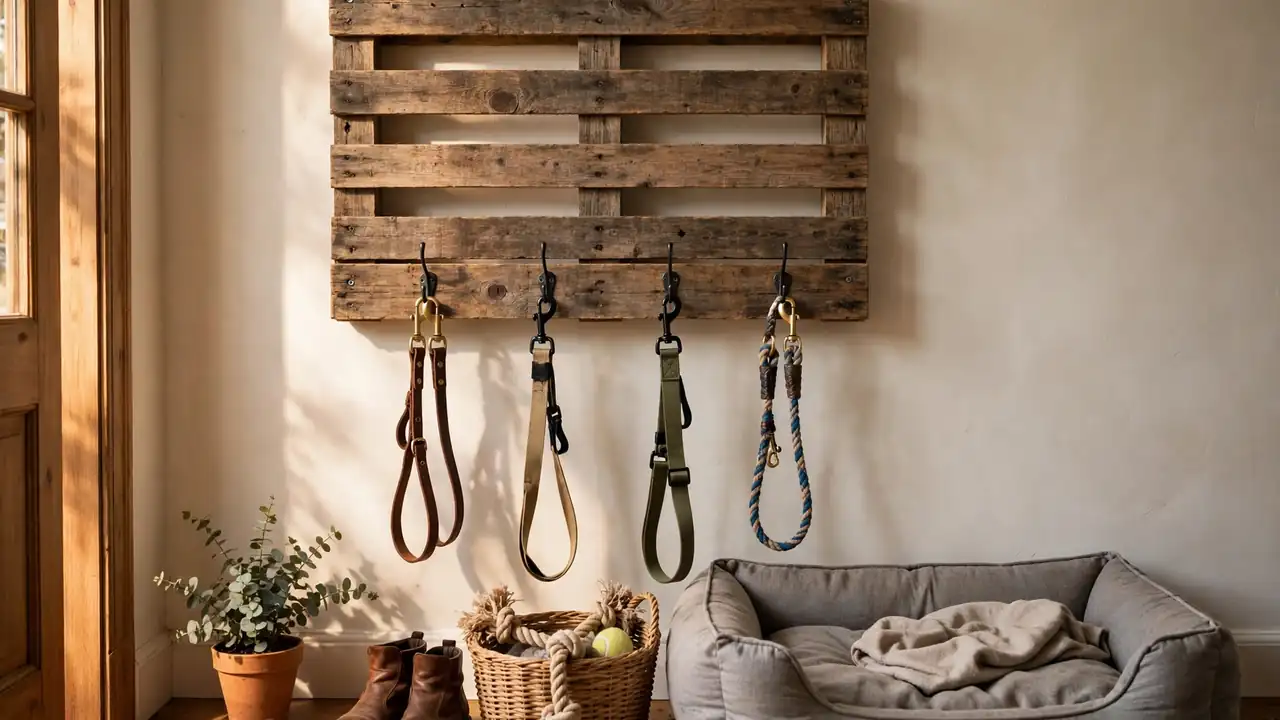
A pallet board gives a holder a rough, warm look for little money. Take one clean pallet slat, sand it well, and check it for stamps or spills first, since pallets carry all kinds of goods. Screw in four metal hooks, mount it on studs, and leave the wood bare or add one coat of clear sealant.
The gaps between slats are useful. Thread a small hook through a gap for a poop bag roll, or hang a brush from a slat end. Keep the board away from damp walls, since untreated wood marks fast in a wet entryway.
12. Use a Renter-Friendly Adhesive Rail With No Holes
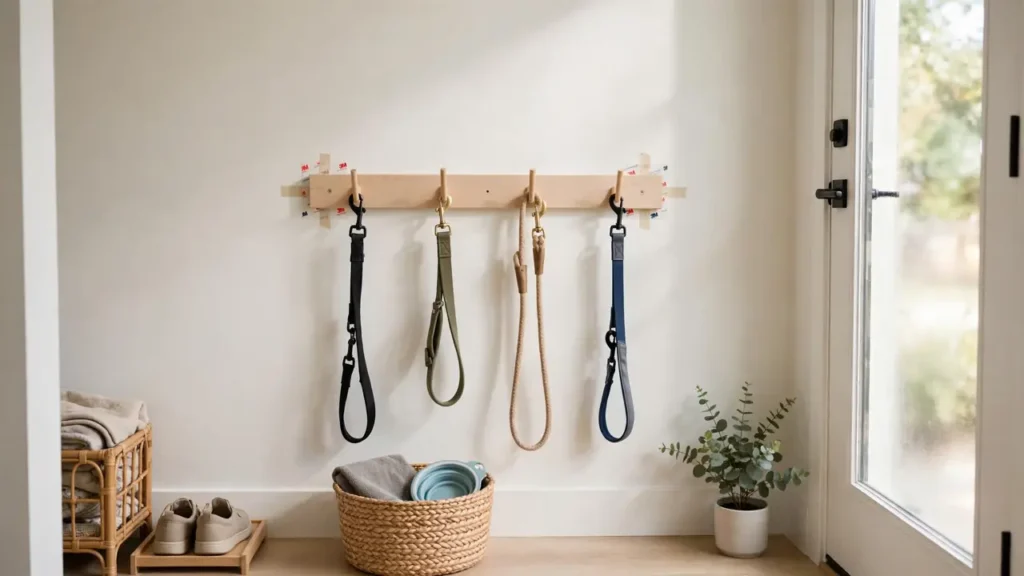
Renters often cannot drill, but they still need a set spot for leashes. A rail fixed with strong adhesive strips gives that spot without holes. Choose a light wooden rail and adhesive strips rated above the total weight of your leashes, then press it firmly and wait a full day before hanging anything.
- Clean the wall first, then let it dry.
- Use two strips per fixing point, not one, for a safer hold.
- Hang the lightest leash first and check the rail after a week.
When you move out, pull the strips slowly down the wall as the maker directs, and the paint should stay intact. That small care step keeps your deposit safe and your walk routine steady until moving day.
What to grab first
Pick one idea from this list of DIY dog leash holders for every entryway and build it this weekend. Start with the rail that fits your wall, your lease, and your dog’s routine, then keep every lead on it. Walks will start faster, the hall will stay clearer, and the hunt for a missing leash will stop being part of the day.
Save this list for the next time you want to refresh your entryway, and share the idea that worked best in your home. A small holder, used every day, makes more difference than a big storage unit that nobody opens.