Store-bought harnesses rarely fit the dog in front of you. The chest strap rides up, the neck opening pinches, or the size that fits the chest hangs loose around the belly. You pay good money and still end up with a harness your dog hates to wear.
Learning how to sew a dog harness fixes all of that. You cut every strap to your dog’s real measurements, pick a material that suits your dog’s coat and habits, and end up with a harness made for one dog, because it was made for one dog.
This guide walks you through the whole project in three materials: sturdy leather, soft washable fabric, and cozy crochet. The steps stay the same for all three, with small changes where each material needs them. You need basic sewing skills only.
If you can sew a straight line on a machine, or chain stitch with a crochet hook, you can finish this project. Plan on about three hours for leather or fabric, and closer to five if you crochet the panel by hand.
By the end, your dog will have a harness that fits, feels soft, and holds up on daily walks. Gather your supplies, measure twice, and let us start.
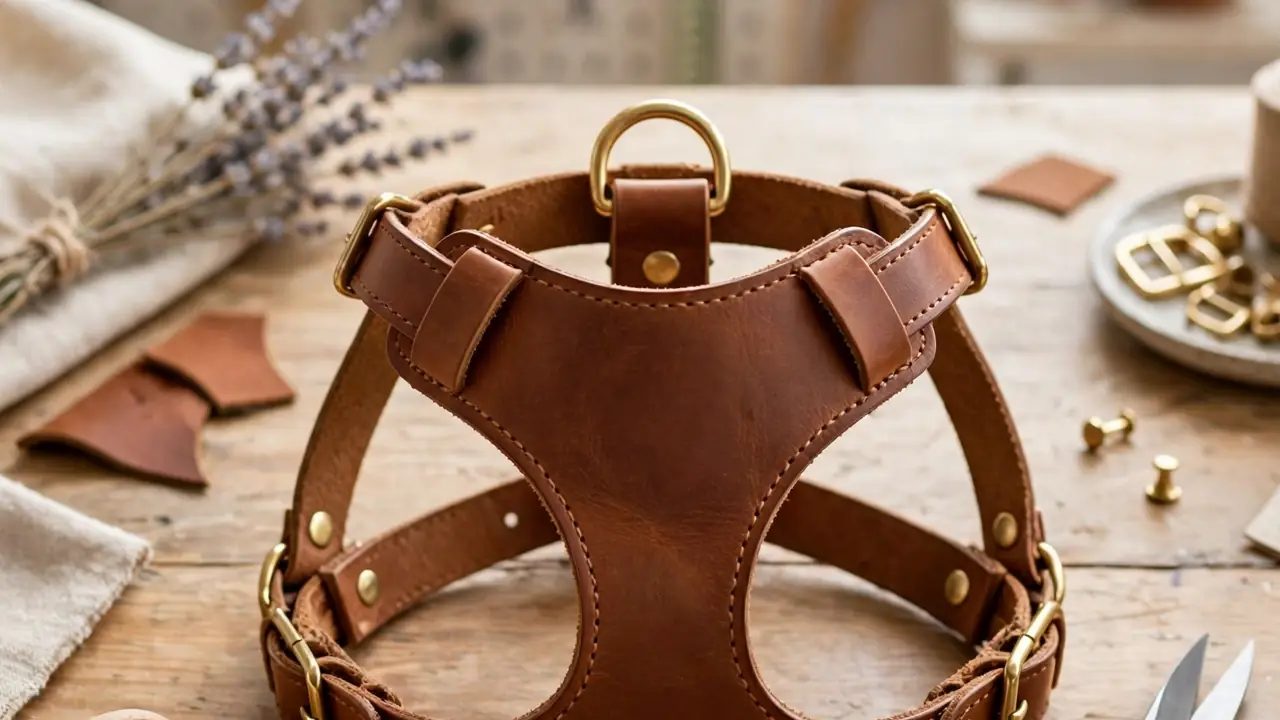
What You Need
Materials
- Leather (4 to 5 oz vegetable-tanned) or cotton canvas / duck fabric or medium-weight cotton yarn
- Strong polyester thread to match, or matching yarn for crochet
- 1 metal D-ring, 3/4 inch or 1 inch
- 2 side-release buckles to match your strap width
- 2 strap adjusters (triglide sliders)
- 1-inch wide webbing, 2 yards, for fabric and leather versions
- Soft lining fabric such as fleece or cotton, 1/2 yard (optional)
Tools
- Soft measuring tape
- Large paper, pencil, and ruler for the pattern
- Fabric chalk or washable marker
- Sharp scissors or a rotary cutter
- Sewing machine with a heavy needle, or a hand-sewing needle
- Crochet hook size H (5 mm) for the crochet version
- Pins or sewing clips
- Lighter for sealing webbing ends
At a Glance
- Measure your dog’s chest and neck
- Pick leather, fabric, or crochet yarn
- Draw a paper pattern from your measurements
- Cut the harness pieces from your material
- Sew a dog harness panel from your cut pieces
- Attach the D-ring, buckles, and adjusters
- Fit the harness on your dog and adjust the straps
- Take a short test walk and fix loose spots
Measure your dog’s chest and neck
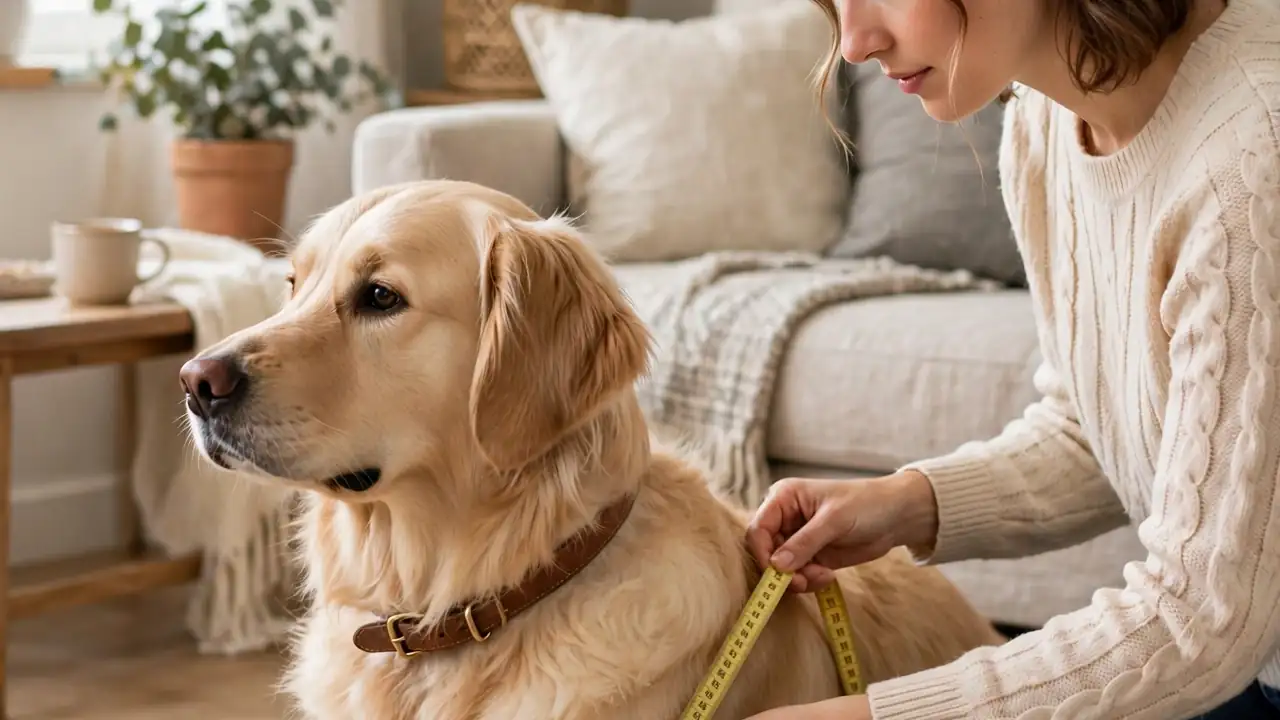
Wrap a soft measuring tape around the widest part of your dog’s chest, right behind the front legs. Write down that number, then measure around the base of the neck where a collar sits. Add 1 inch to each number for seam allowance and a little growing room.
Stand your dog on all fours while you measure, since a sitting dog gives a smaller chest number. Check each number twice. A harness built on wrong numbers will twist or rub, and no amount of adjusting later fixes a bad start.
Pick leather, fabric, or crochet yarn
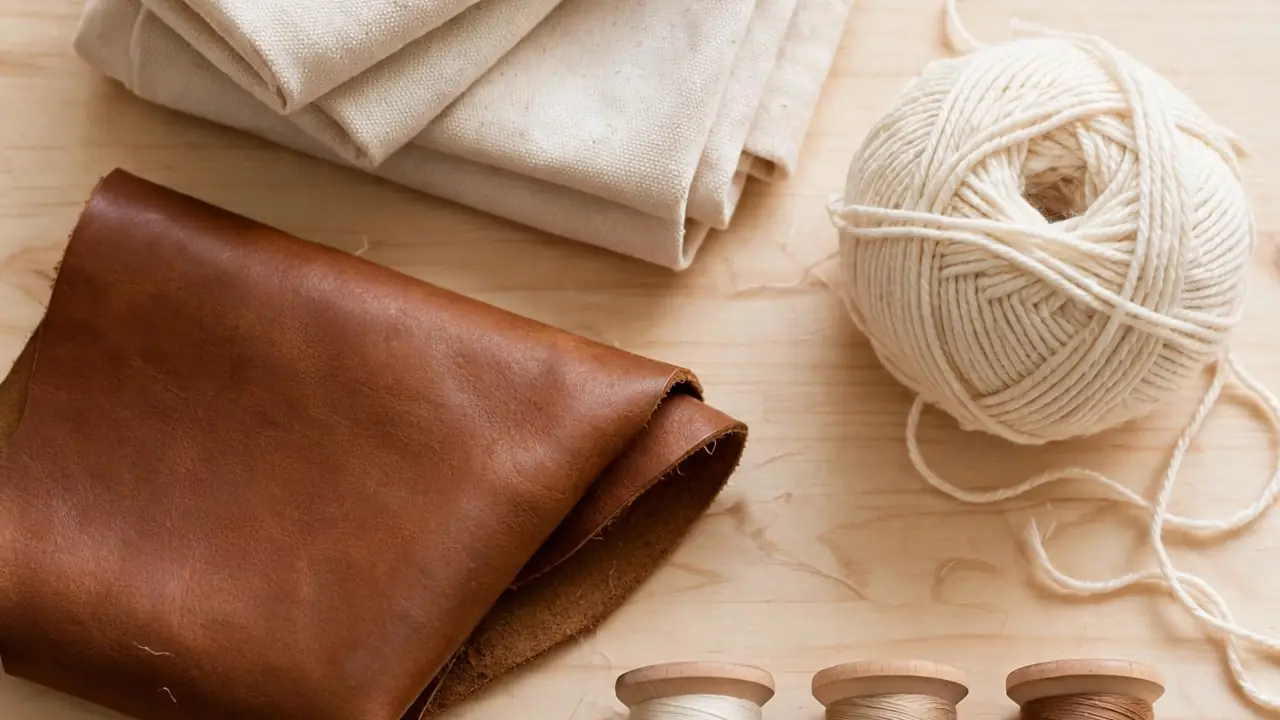
Leather lasts for years and looks better with age, but it costs more and needs a strong needle. Cotton canvas or duck fabric sews fast, washes well, and suits most dogs. Crochet gives a soft, stretchy panel that feels gentle on short coats, but it takes longer and suits small or calm dogs best.
Match the material to your dog. A big puller needs leather or layered canvas.
A small senior dog will love soft crochet or lined fabric. Pick one path now and gather only those supplies.
Draw a paper pattern from your measurements
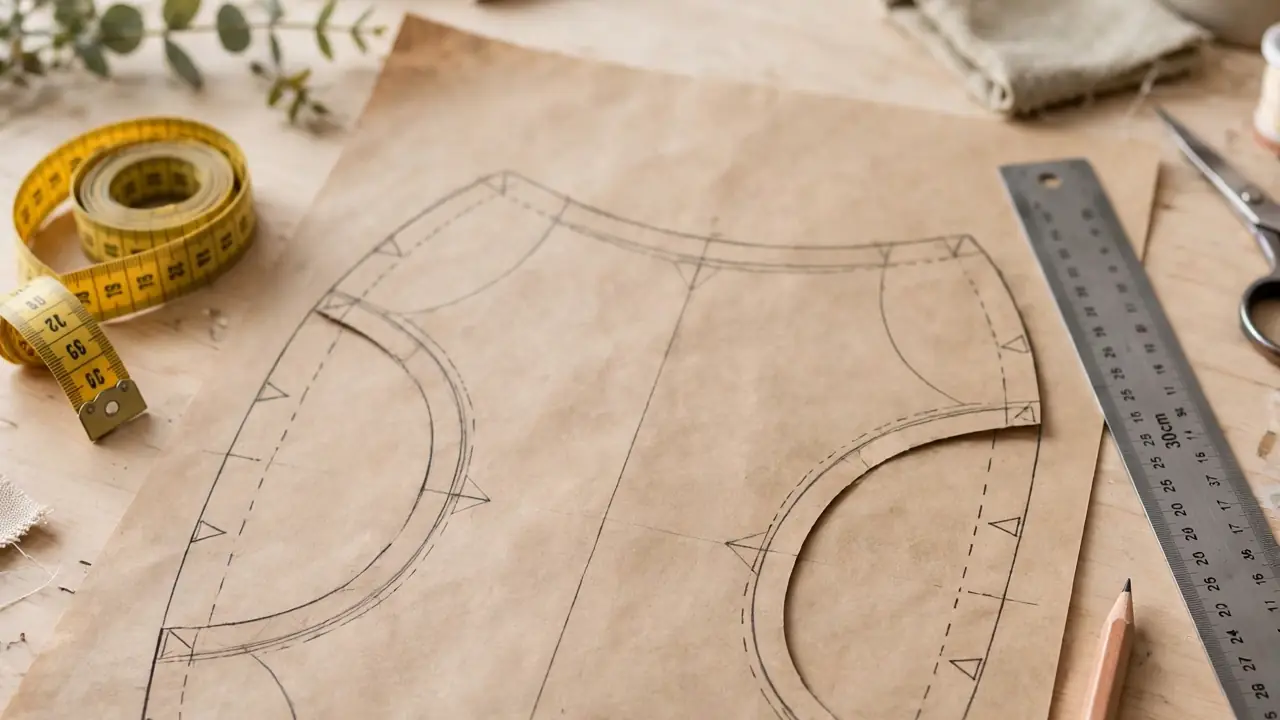
Lay a large sheet of paper flat and draw the chest panel first. Use your chest number minus 2 inches for the panel width, so the straps take up the slack. Mark a soft curve for the neck at the top.
Cut the paper panel out and hold it against your dog’s chest. It should cover the breastbone without reaching the belly.
Trim the paper until the shape looks right. This piece guides every cut that follows.
Cut the harness pieces from your material
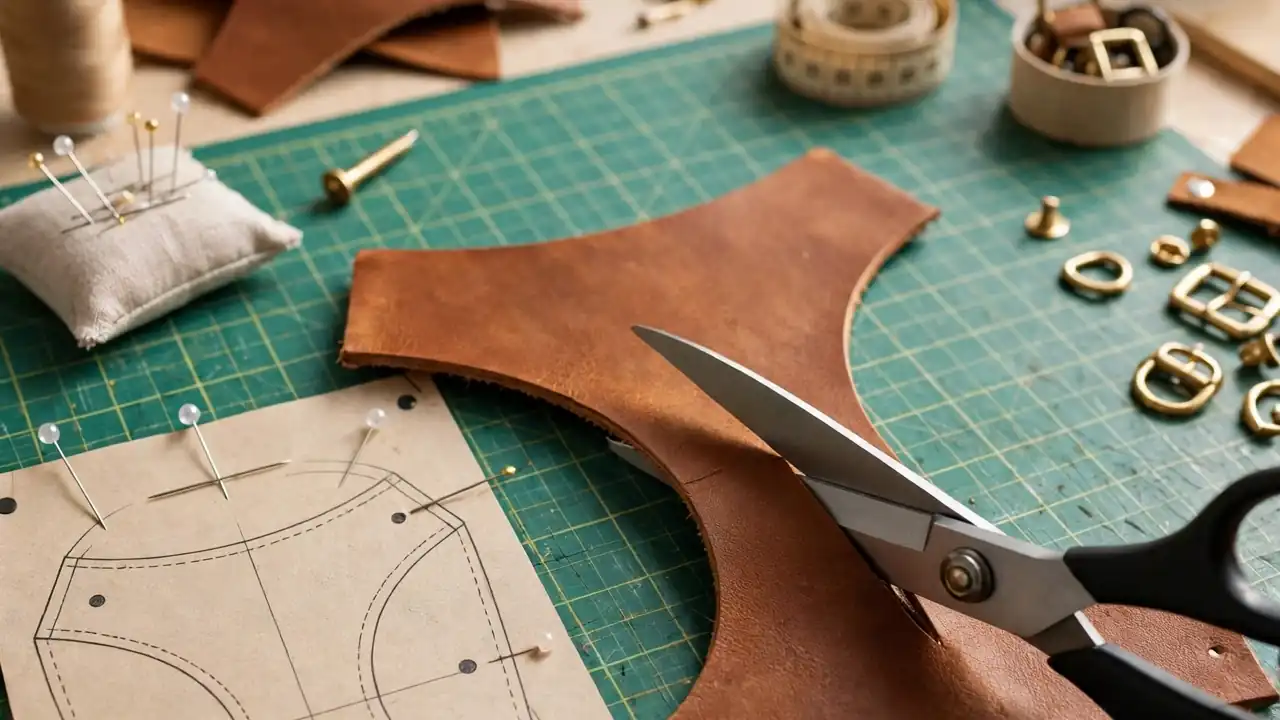
Pin the paper pattern to your leather or fabric and trace around it with chalk. Cut two matching panels when you want a lining, one for the outside and one for the inside. Cut two girth straps, each 4 inches longer than half your chest number, plus two shorter neck straps.
For crochet, chain a foundation row to match your panel width and work single crochet rows until the panel reaches your target length. Seal cut webbing ends with a lighter so they stay neat.
Sew a dog harness panel from your cut pieces
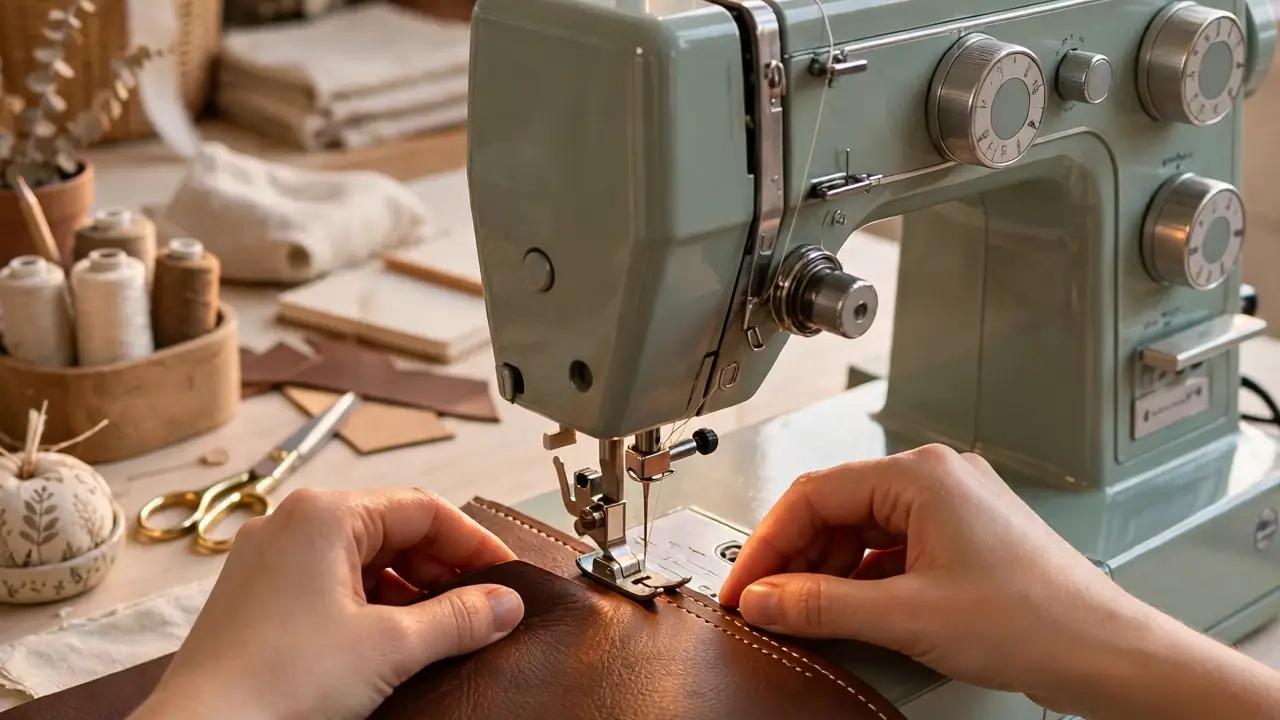
Place the outer and lining panels with their right sides together and pin around the edges. Sew around the edge with a 1/4-inch seam, leaving a 3-inch gap on one side. Turn the panel right side out through the gap and press it flat.
Topstitch around the whole edge to close the gap and add strength. For crochet, skip the seam and work a border of single crochet around the panel edge instead. A test stitch on scrap first shows whether your tension and thread hold.
Attach the D-ring, buckles, and adjusters
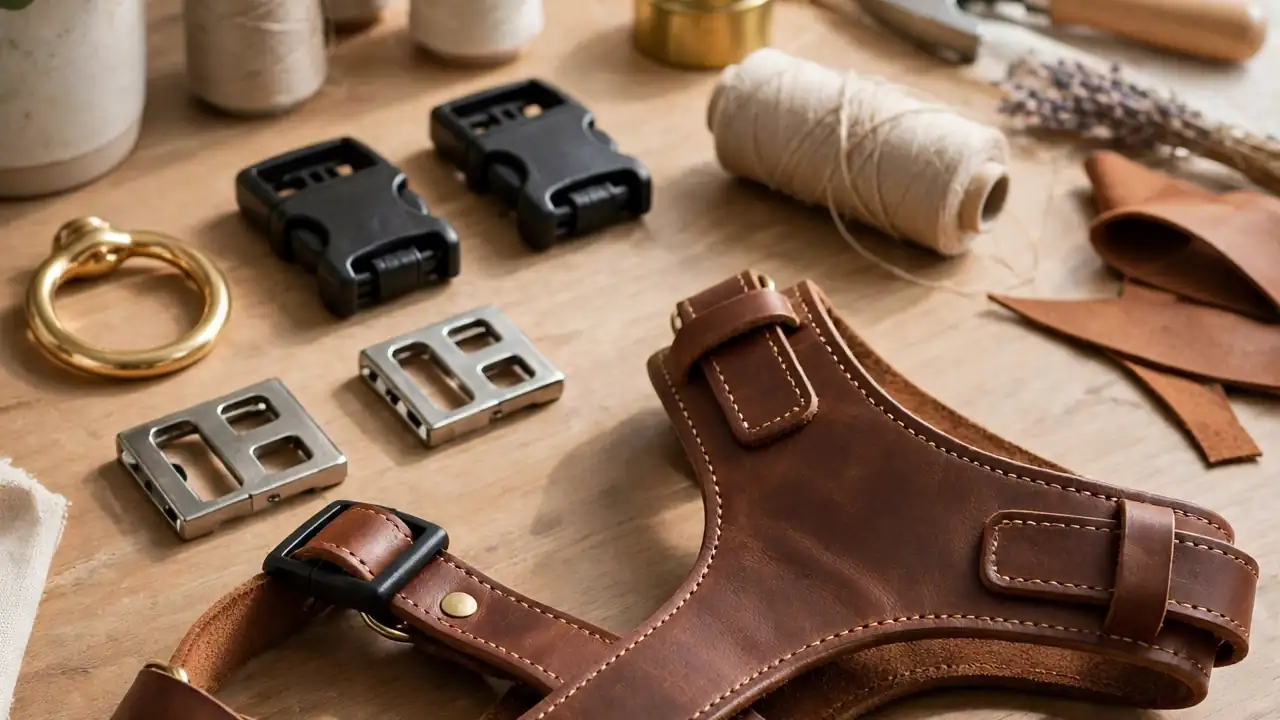
Thread one end of a neck strap through the D-ring, fold it back 1 inch, and sew a tight box stitch to lock it in place. Slide a strap adjuster onto each girth strap, then thread the strap end through a side-release buckle and back through the adjuster.
Sew each strap end to the chest panel with a box stitch and an X through the middle. Tug each join hard before you move on. Hardware that holds now will hold on a walk, and hardware that slips now will slip at the worst moment.
Fit the harness on your dog and adjust the straps
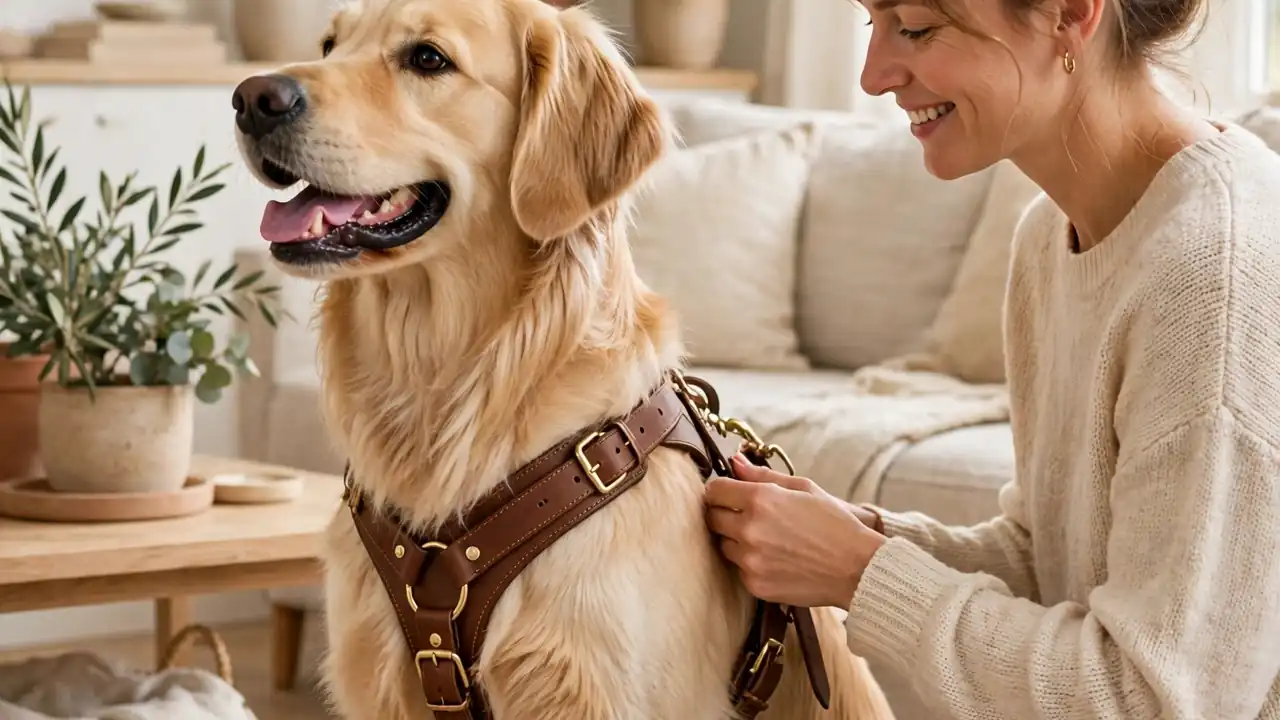
Slip the panel over your dog’s head and bring the girth straps around the chest. Clip the buckles and slide the adjusters until the harness sits flat with no twists. Check the fit with the two-finger rule: slide two fingers flat under every strap.


Paid Links - As an Amazon Associate, I earn from qualifying purchases.
If they slide under without pressure, the fit is right. If you have to force them, loosen the straps.
If four fingers fit, tighten up. Watch for pinching behind the front legs, the most common sore spot.
Take a short test walk and fix loose spots
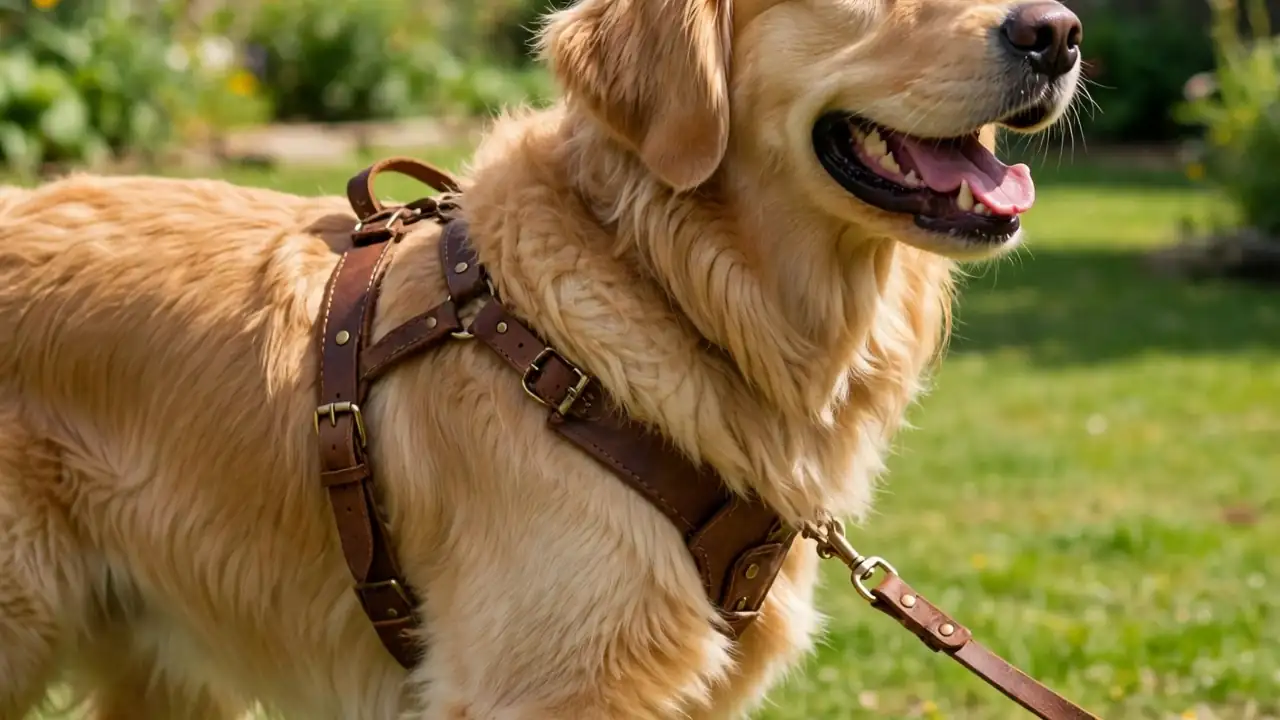
Clip a leash to the D-ring and walk your dog around the yard for 10 minutes. Watch how the panel sits when your dog pulls, sits, and turns. Look for straps that ride up, a panel that twists, or edges that rub the skin.
Come back inside and fix what you saw: tighten a strap, move a buckle, or add a small stitch to stop a twist. A second short walk confirms the fix. Once the harness stays put through a full walk, it is ready for daily use.
Troubleshooting: Fix Common Harness Problems
| If This Happens | Try This |
|---|---|
| Harness twists to one side | Check that both girth straps are the same length, then move the D-ring to the center of the panel. |
| Straps slip loose on walks | Rethread the adjusters so the strap doubles back through the slot, and add a bar tack at the strap end. |
| Dog backs out of the harness | Tighten the girth straps one notch, check the neck opening, then test with a treat lure to pull the dog forward. |
| Seams pucker or bunch | Lengthen your stitch, press the seam flat, and sew a second row of topstitching for strength. |
| Crochet panel stretches out | Work a tighter gauge, switch to a smaller hook, or add a fabric backing to hold the shape. |
Frequently Asked Questions
What is the best material for a first harness?
Cotton canvas. It sews fast, forgives small mistakes, washes well, and costs little. Save leather for your second harness, once your pattern is proven.
How tight should a dog harness fit?
Snug enough that two fingers slide flat under every strap, and loose enough that the straps never dig in. Check the fit again after the first wash, since fabric can shrink.
Can I wash a handmade dog harness?
Fabric and crochet harnesses wash on a gentle cycle in cold water. Leather harnesses need a wipe with a damp cloth and a leather conditioner, never a machine wash.
What size D-ring do I need?
A 3/4-inch D-ring suits small and medium dogs, while a 1-inch ring suits large and strong dogs. Welded rings hold up better than split rings.
Can I crochet a harness for a large dog?
Yes, with tight single crochet stitches and a fabric backing for strength. Use cotton yarn, not acrylic, and test the panel by pulling it hard before you trust it on a walk.
Quick Reference Card
What You Need: Leather, fabric, or cotton yarn; thread; D-ring; 2 buckles; 2 adjusters; webbing; measuring tape; paper pattern; scissors; sewing machine or crochet hook.
Steps: 1) Measure chest and neck. 2) Pick your material. 3) Draw a paper pattern. 4) Cut the pieces. 5) Sew the panel. 6) Attach the hardware. 7) Fit and adjust on your dog. 8) Test walk and fix loose spots.
You now know how to sew a dog harness that fits your dog and no one else. The straps sit where they should, the panel covers the chest, and the hardware holds because you tested it. Take your dog out and enjoy the walk.
Pin this guide to your dog board so you can find the steps again for your next harness.