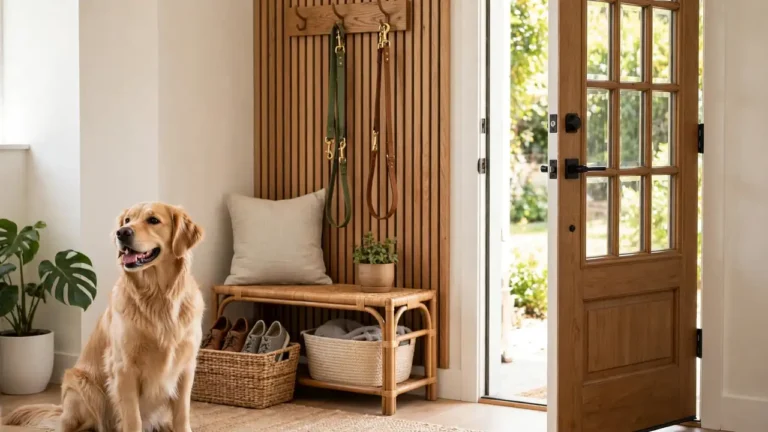
Leashes pile up by the door, slip off hooks that were never meant for them, and vanish into a drawer the moment you need one. A wall-mounted holder fixes that in one afternoon: four sturdy hooks on a wooden board, hung where you grab the leash on your way out.
This guide shows you how to make a DIY dog leash holder step by step, with exact measurements and no special woodworking skill. You will cut one board, add four hooks, and mount it level on the wall.
The whole build takes about 2 hours, and most of that is waiting for stain or paint to dry. The active work is around 45 minutes, and every tool here is a common household one, with a shop-bought swap named where it helps. You can stain it to match your hallway, or paint it a bold colour that stands out by the door.
Pick a spot near the door you use for walks, at a height every adult in the house can reach. A board 24 inches wide holds four hooks with room to spare, which suits most homes with one or two dogs. By the end of this guide, your leashes will hang in one place, ready for every walk.
Time and Difficulty
Total Time: 2 hours (includes drying) | Active Time: 45 minutes | Difficulty: Beginner
What You Need
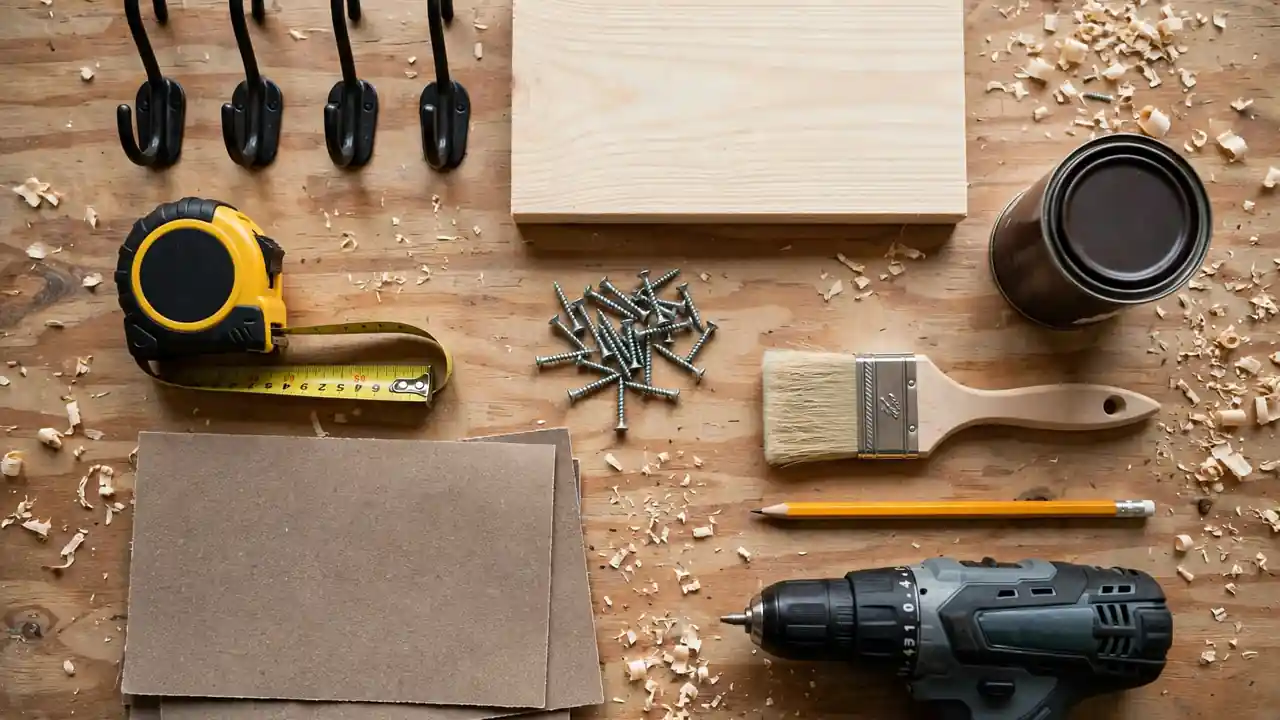
Materials: 1 pine board 24 x 6 x 3/4 inches, 4 black metal coat hooks with screws, 2 sawtooth picture hangers with screws, 4 wall anchors and screws (for drywall), wood stain or paint, 120-grit and 220-grit sandpaper.
Tools: tape measure, pencil, ruler, hand saw or circular saw, drill with 1/8-inch bit and screwdriver bit, spirit level, stud finder (optional), safety glasses, dust mask, clean rag, paintbrush.
Pine is cheap, light, and takes stain well. If you do not have a saw, most hardware stores cut a board to size for free when you buy it.
At a Glance
- Measure your entryway wall space
- Cut the pine board to 24 inches
- Sand the board smooth
- Stain or paint the board
- Mark the hook positions on your DIY dog leash holder
- Drill pilot holes for the hooks
- Screw the hooks into the board
- Attach the hanging hardware to the back
- Mount the holder on the wall
- Hang the leashes and test each hook
Measure your entryway wall space
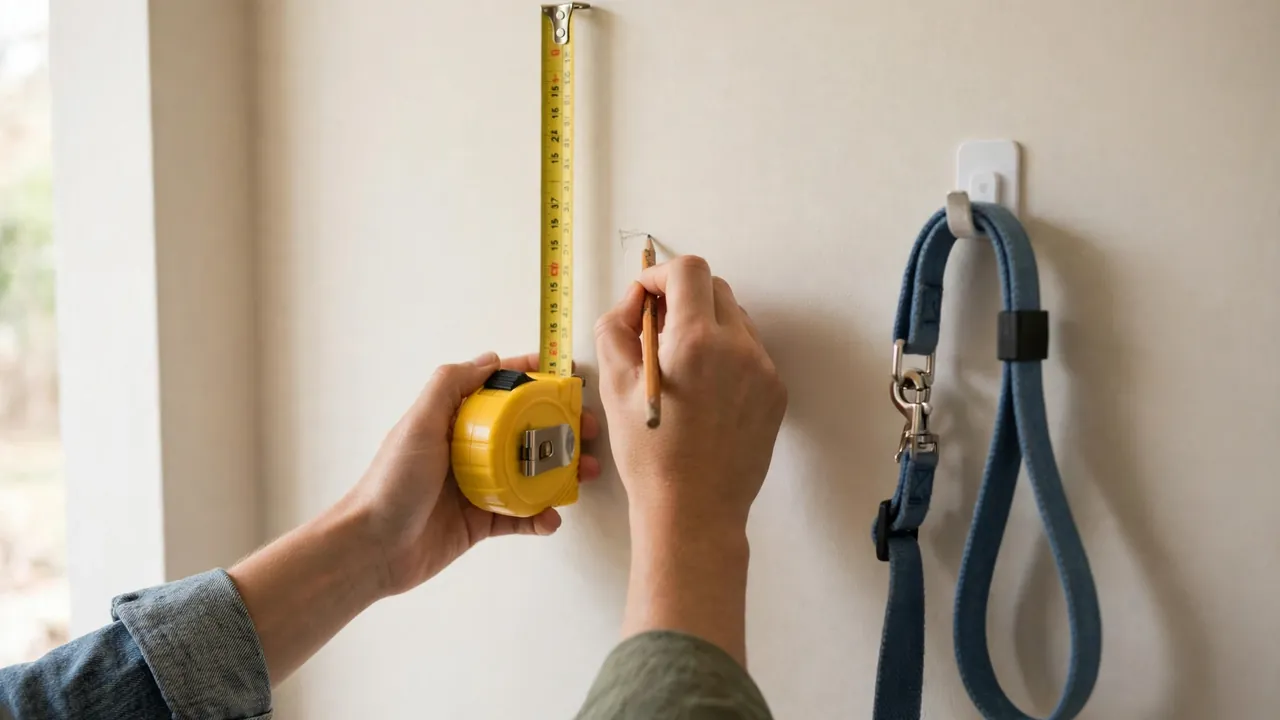
Hold your tape measure flat against the wall where the holder will hang, at about shoulder height, around 60 inches from the floor. Mark a 24-inch wide stretch with light pencil ticks, then check that a door or coat rack does not swing into it. Stand back and picture four leashes hanging there: each hook needs about 5 inches of clear space below it so leashes do not bunch on the floor.
If the wall is tiled or brick, pick a smooth plaster or drywall section instead, because anchors grip far better there.
Cut the pine board to 24 inches
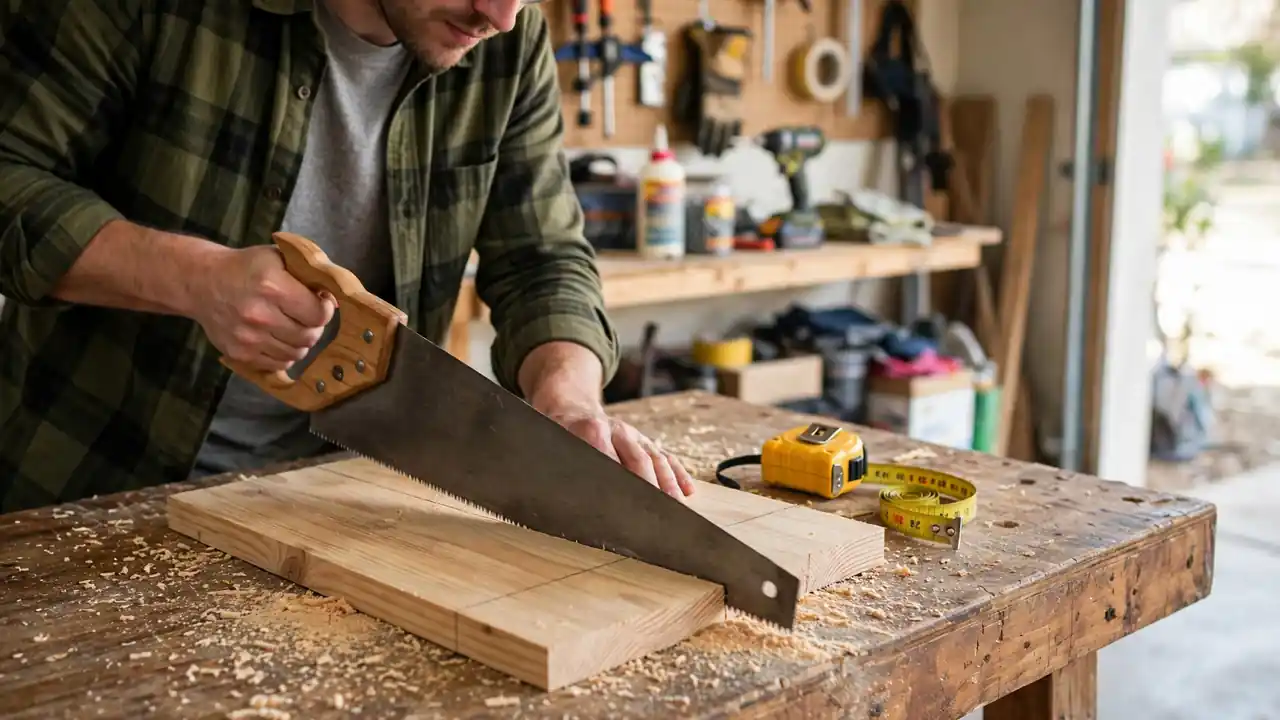
A straight cut starts with a clear line: mark across the board at 24 inches with your pencil and a ruler. Clamp the board to your workbench so the cut line sits past the edge, then saw along the line with slow, even strokes. Let the saw do the work: pushing hard makes the cut wander.
Check the cut end with a square or a book corner. If it is off by a little, the next step smooths it out.
Sand the board smooth
Rub the whole board with 120-grit sandpaper, moving along the grain in long strokes. Pay extra attention to the cut end and the corners, where splinters hide. Wipe the dust off with a clean rag, then repeat with 220-grit paper until the surface feels smooth under your palm.
A smooth board takes stain evenly and feels good to touch every day.

Stain or paint the board
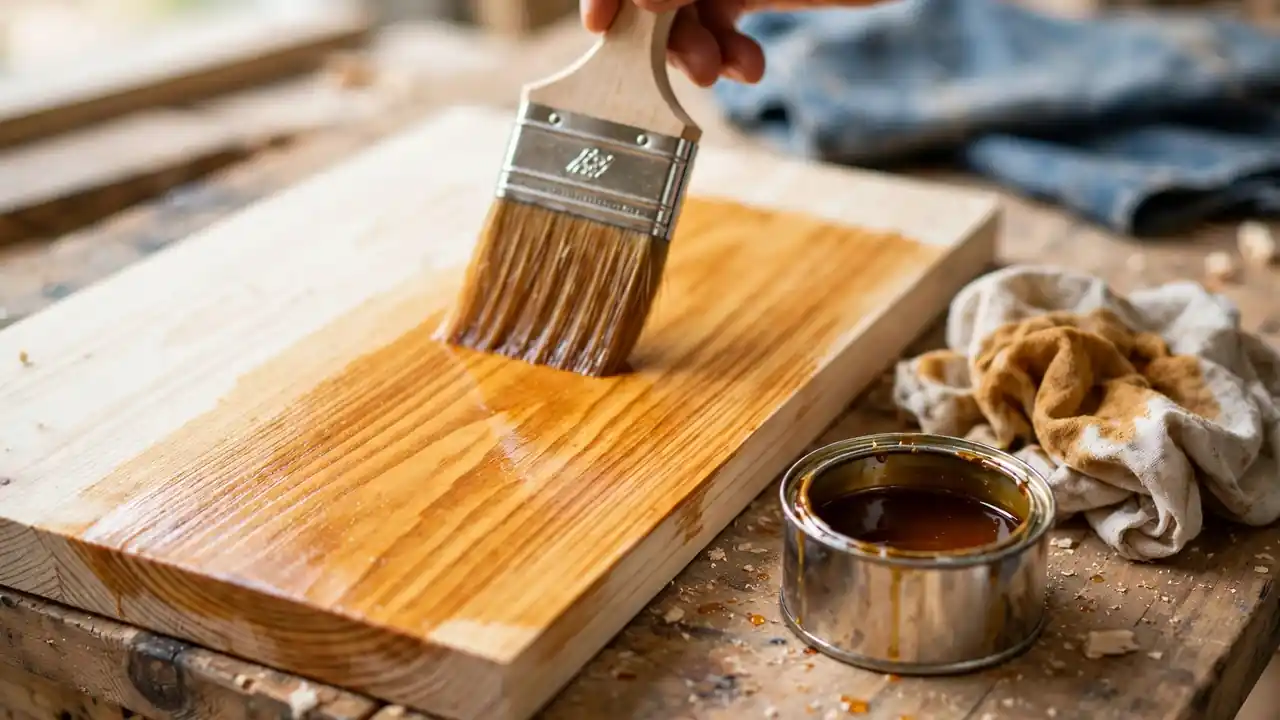
Thin coats are the whole trick here: brush one coat of stain or paint along the grain, covering the front, edges, and back. A thick coat stays tacky and shows brush marks, while a thin coat dries evenly. Leave the board flat for 2 hours to dry, then check the colour in daylight.
If you want a deeper shade, add a second thin coat and wait another 2 hours. The board must feel fully dry before you drill into it.
Heads Up: Stain fumes build up fast in a closed room, so work outside or open a window and a door. Lay used stain rags flat on concrete to dry: a crumpled stain rag can heat up on its own.


Paid Links - As an Amazon Associate, I earn from qualifying purchases.
Mark the hook positions on your DIY dog leash holder
Lay the board face up and draw a light pencil line down the centre of its length. Measure 3 inches in from each end, then mark four spots along that line, each 6 inches apart. Those marks are where the hooks will sit.
Double-check the spacing with your tape measure before you drill: a hook in the wrong spot leaves a hole you have to fill.
Pro Tip: Space the two middle hooks a little wider if you own a long training lead, so it hangs without folding over its neighbour.
Drill pilot holes for the hooks
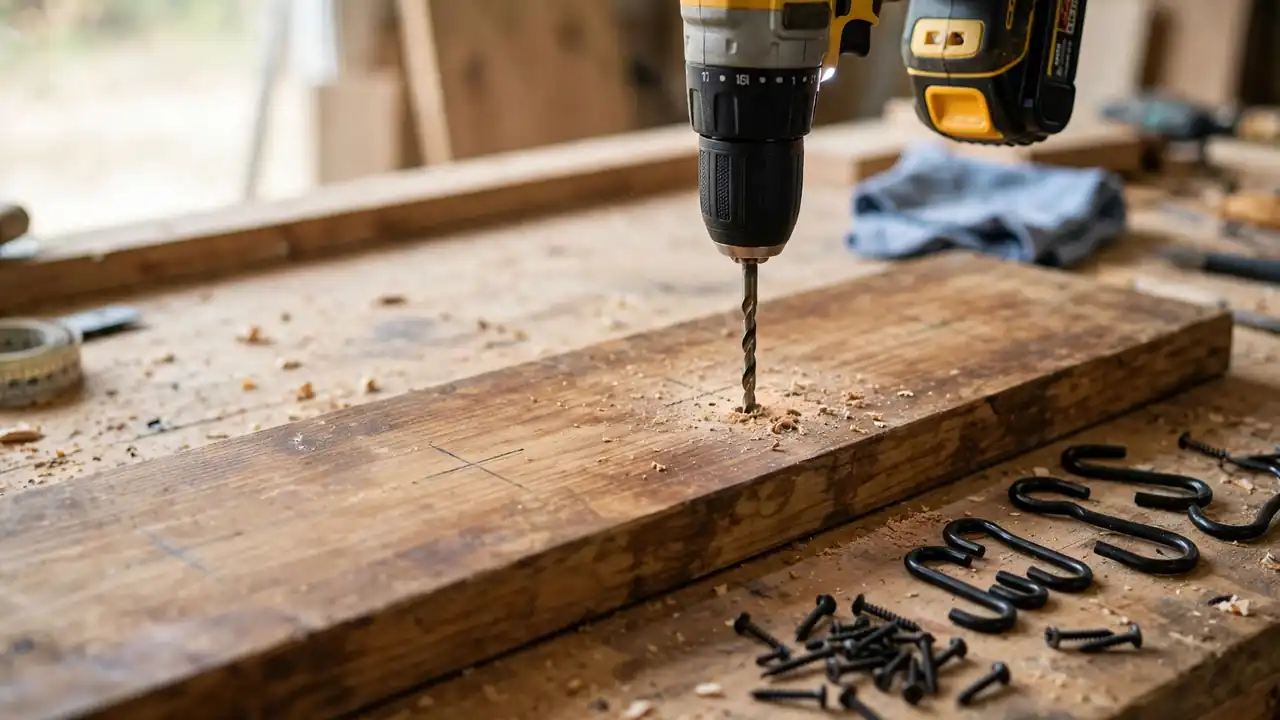
With the board marked, fit a 1/8-inch drill bit and hold the drill straight above the first mark. Drill a hole about 1/2 inch deep, pulling the bit out once to clear the wood dust. Repeat at the other three marks.
Pilot holes stop the pine from splitting when the hook screws go in, and they keep each hook lined up where you marked it.
Screw the hooks into the board
Set a hook over the first pilot hole and drive its screws in by hand with a screwdriver, or on your drill’s lowest speed. Tighten each screw until the hook plate sits flat against the board with no wobble. Work through all four hooks the same way.
Give each hook a firm tug when you finish: it should hold without shifting.
Attach the hanging hardware to the back
The hangers go on the back, where nobody sees them: flip the board over and measure 4 inches in from each end along the top edge. Screw a sawtooth hanger at each mark, teeth facing up, using the short screws that come with the hangers. If your hangers came with no screws, 3/4-inch wood screws fit.
Press on each hanger after fitting it: it should sit flat and not rock. If your store has no sawtooth hangers, D-ring hangers work the same way. A French cleat is the stronger choice if your holder will carry heavy leather leads.
Mount the holder on the wall
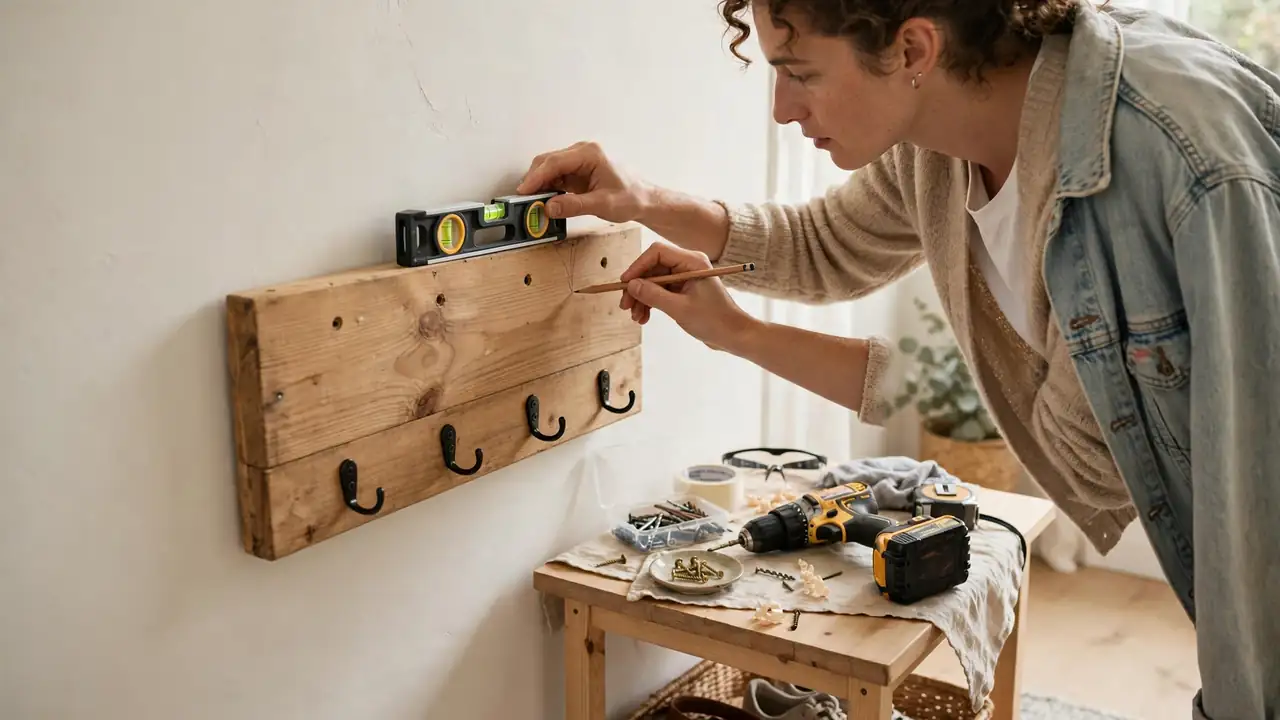
Hold the board against your pencil marks from step 1 and set a spirit level on its top edge. Adjust it until the bubble sits dead centre, then mark the two hanger positions on the wall through the sawtooth slots. Drill the wall at those marks, push in wall anchors if you missed a stud, and drive in the screws, leaving each head out by about 1/4 inch.
Lift the board onto the screws and press down so the hangers catch. Check the level once more before you let go.
Hang the leashes and test each hook
The test takes ten seconds and saves a mess later: hang one leash on each hook and let the full weight settle. Pull down on each leash with a firm tug, the way a dog does when it spots a squirrel. If a hook shifts or the board tilts, take it down and tighten the wall screws or move to a stud.
When all four hooks hold steady, your holder is ready for the next walk.
Troubleshooting
| If This Happens | Try This |
|---|---|
| Board splits when you drill | Drill a pilot hole first with a 1/8-inch bit, and keep the hole at least 1 inch from the board edge. |
| Hooks sit crooked | Loosen the screws, straighten the hook plate by eye, and retighten while you hold it in place. |
| Holder hangs tilted | Lift it off, check the wall screws with a level, and reset the higher screw 1/4 inch lower. |
| Leashes slide off the hooks | Swap in hooks with a deeper curve, or add a small rubber cap on the hook tip for grip. |
Frequently Asked Questions
How much weight can a DIY dog leash holder hold?
Four hooks on a board screwed into wall studs hold 20 to 30 pounds with ease, which covers several leashes, collars, and a treat pouch. Anchors in drywall hold less, so check the anchor pack rating and spread heavy gear across all four hooks.
Can I build this without a drill?
Yes. Ask the store to cut the board, start the pilot holes with a hand awl, and drive the screws by hand with a screwdriver. It takes longer, around 20 extra minutes, and a clamp or a second pair of hands helps hold the board still.
What wood works best for a leash holder?
Pine is the cheapest and easiest choice for a first build, and it takes stain well. Oak or walnut look richer and hold screws more firmly, but they cost more and need a sharper drill bit.
Can I add a shelf on top?
Yes. Cut a second board the same length and 4 inches deep, and fix it to the top edge with two small L-brackets. It takes about 15 extra minutes and gives you a spot for a treat jar and keys.
Quick Reference Card
What You Need: pine board 24 x 6 x 3/4 inches, 4 coat hooks, 2 sawtooth hangers, wall anchors, stain or paint, 120-grit and 220-grit sandpaper, tape measure, pencil, saw, drill, spirit level.
Steps: 1. Measure the wall space. 2. Cut the board to 24 inches. 3. Sand it smooth. 4. Stain or paint it. 5. Mark the hook positions. 6. Drill pilot holes. 7. Screw in the hooks. 8. Attach the hangers. 9. Mount it on the wall. 10. Hang the leashes and test each hook.
Your leashes now have a home by the door, and the next walk starts without a search. That is the whole point of a project like this: a small build that pays off every single day.
If this guide showed you how to make a DIY dog leash holder, hang your favorite lead on it and take a photo. Save this guide to your dog DIY board on Pinterest so it is there when a friend asks how you built it.