How to Make a DIY Dog Surgery Recovery Suit to Comfort Your Pet
Your dog comes home after surgery, groggy and sore, and your first job is to keep the incision clean and untouched. A DIY dog surgery recovery suit covers the wound with soft fabric, so your dog cannot lick or scratch it, and it feels kinder than a hard plastic cone. This guide shows you how to sew one from an old T-shirt in about two hours, with no fancy pattern and no special skill.
A recovery suit works best for belly, chest, and side incisions, where fabric can sit flat over the wound. It does not suit every surgery, and it never replaces your vet’s care. Ask your vet first, and check the incision at least twice a day while your dog wears it.
You need one old T-shirt, a tape measure, and a needle and thread or a sewing machine. The suit should fit snug, like a second skin, without pulling at the wound or stopping your dog from lying down, eating, or going outside to toilet. Follow the steps in order, try the suit on before you finish the seams, and your dog can rest in comfort while healing.
Important: this suit is a comfort cover, not medical care. If the incision opens, bleeds, smells bad, or looks red and swollen, call your vet at once. Never use a suit to hide a wound your vet has not seen.
What You Need
- 1 old soft cotton T-shirt or cotton jersey fabric, about 1 to 2 yards
- Soft measuring tape
- Fabric chalk or a washable marker
- Sharp fabric scissors
- Pins
- Needle and thread, or a sewing machine
- 4 to 6 sew-on snaps, or soft fabric ties
- Paper for a pattern (an old paper bag works well)
- Mild laundry detergent, for washing the fabric first
At a Glance
- Ask your vet whether a recovery suit suits your dog
- Measure your dog’s chest, back, and neck
- Pick soft, stretchy fabric and wash it first
- Trace a pattern from an old T-shirt
- Cut the fabric with room for the seams
- Sew the side seams and leg openings
- Add snaps or soft ties at the back
- Fit the suit on your dog and check the wound
Ask Your Vet Whether a Recovery Suit Suits Your Dog
Some wounds need air on them, and some dogs still need a cone instead of a cover. Call your vet or the clinic nurse and describe where the incision sits.
Ask how many hours a day your dog should wear a cover, and whether the wound must stay open to air at night. Write the answer down. A suit your vet has approved gives you peace of mind, and it keeps you from guessing about care your dog needs.
Measure Your Dog’s Chest, Back, and Neck
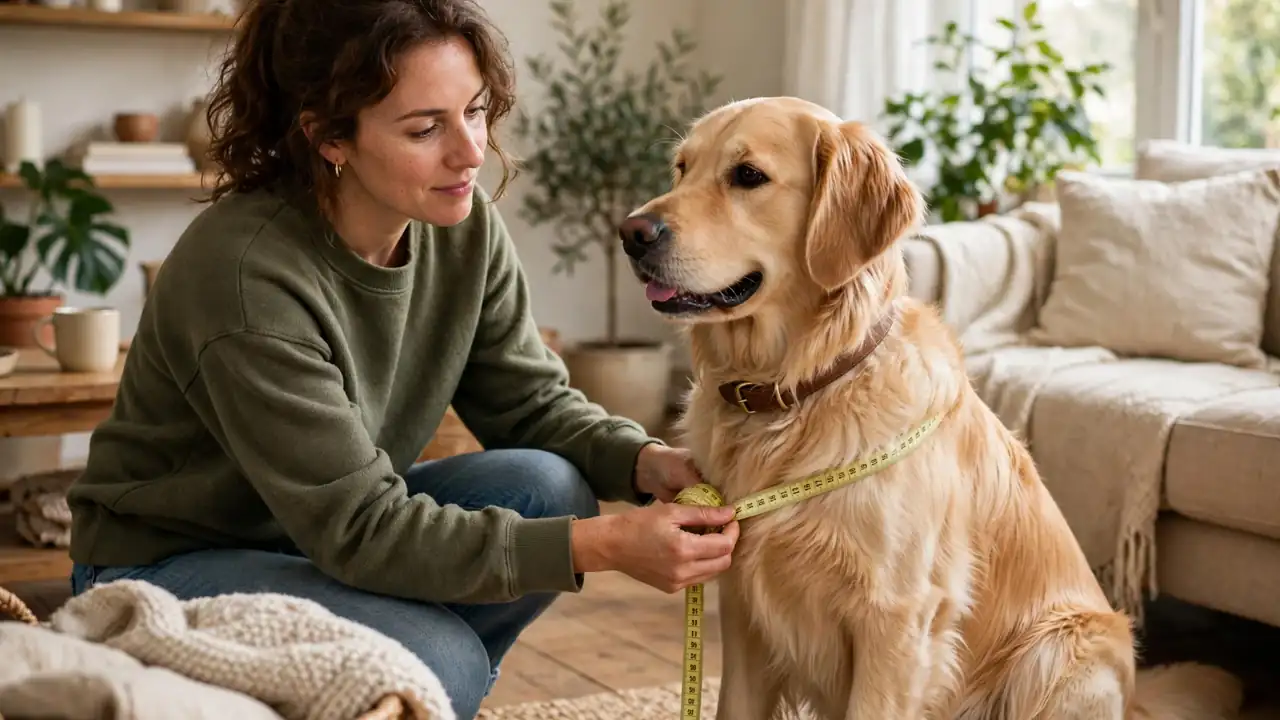
Stand your dog on all four legs on a flat floor, with a treat in your hand to hold them still. Wrap the tape around the widest part of the chest, right behind the front legs, and note the number.
Measure the back from the base of the neck to the base of the tail, then around the neck. Add 2 inches to the chest number for seam room and a snug, calm fit.
Pick Soft, Stretchy Fabric and Wash It First
Reach for a worn cotton T-shirt, soft jersey, or a light sweatshirt your dog already knows. The cloth should stretch a little, breathe well, and feel smooth on the inside, with no rough seams or hard buttons near the wound.
Cut out any scratchy neck labels before you start, and run your hand over the inside of the shirt to feel for thick seams. Wash the fabric in mild detergent and dry it fully before you cut. Fresh fabric shrinks in the wash, and a suit sewn from unwashed cloth can end up too tight after the first clean.
Pro Tip: Pick a shirt your dog has slept on before. A familiar smell helps a sore dog settle, and the worn fabric has already lost its stiff new finish.
Trace a Pattern From an Old T-Shirt
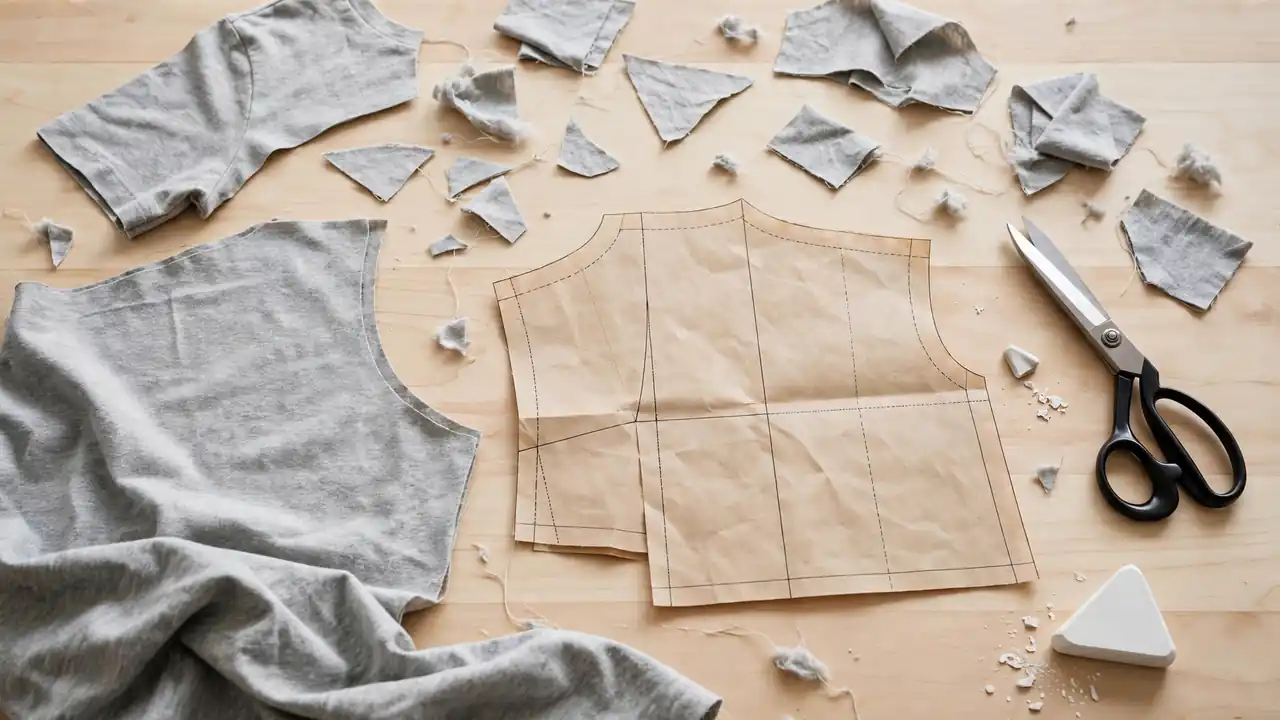
Lay the shirt flat on a table and smooth out the folds with your hands. Draw the shape of your dog’s body on paper first: a long rectangle for the back and belly, with the chest number as the width.
Mark where the front legs and back legs will go, and add 1 inch around every edge for seam room.
Cut the Fabric With Room for the Seams
Pin the paper pattern to the washed fabric and trace around it with chalk. Cut along the chalk lines with long, smooth strokes, and cut the four leg holes a little smaller than you think you need.
You can widen a leg hole in seconds, and you cannot put fabric back once it is cut away. Hold each piece up to your dog for a rough size check before you sew.
Heads Up: Cut on a flat table, never on your lap. Fabric shifts under scissors, and a crooked cut now means a twisted suit that rubs the wound later.
Sew the Side Seams and Leg Openings
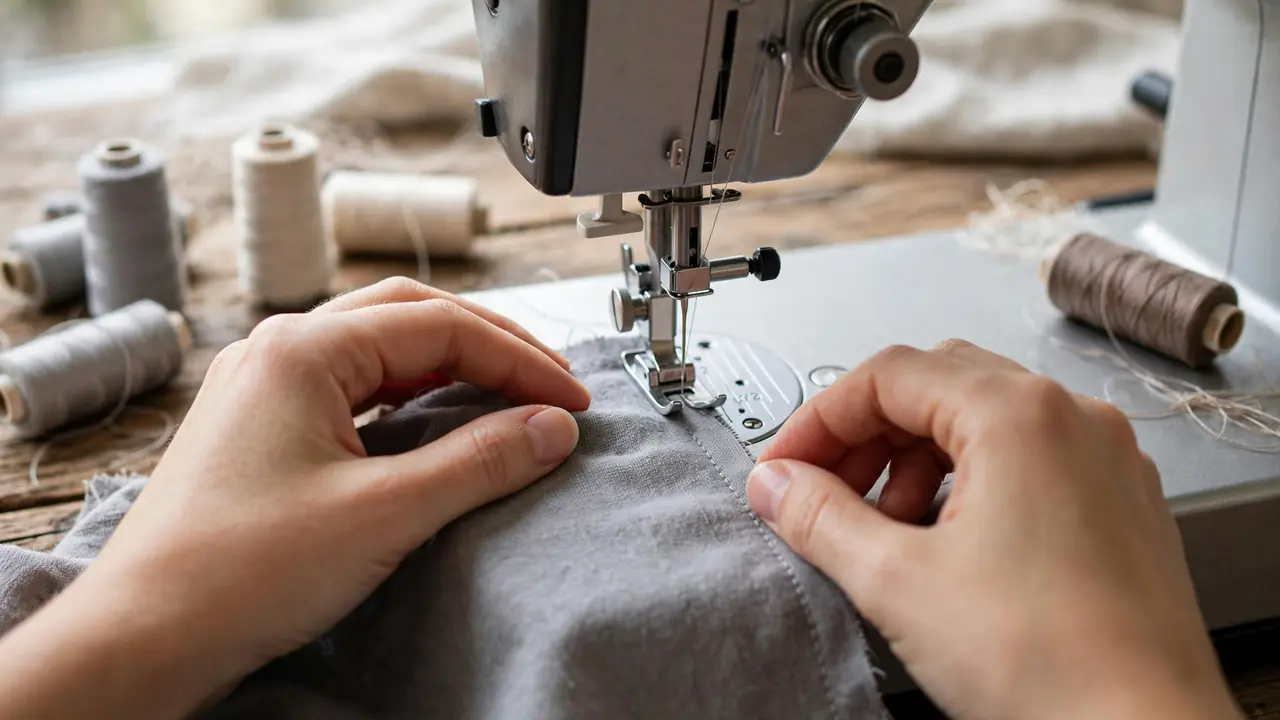
Pin the two side pieces together with the right sides facing in, then sew a straight stitch 1/2 inch from each edge. Backstitch at the start and end of each seam so it holds when your dog moves.
Turn the suit right side out and hem each leg opening with a narrow fold, so no raw edge rubs your dog’s skin. Press the seams flat with your fingers or a cool iron, and tug each seam gently to check it holds before you move on.
Add Snaps or Soft Ties at the Back
A back opening makes the suit far easier to put on a sore dog than pulling it over the head. Sew snaps along the back edge, spaced about 3 inches apart, or sew on soft fabric ties if your dog has long hair that could catch in snaps.
Test each snap twice. For long-haired dogs, ties are the safer choice, since they cannot snag fur or pinch skin when your dog lies down.


Paid Links - As an Amazon Associate, I earn from qualifying purchases.
Fit the Suit on Your Dog and Check the Wound
Slide the front legs through the holes first, pull the fabric over the back, and fasten the snaps or ties. Slip two fingers under the edge at the chest: they should fit with ease, and the suit should not pull at the wound when your dog walks.
Lift the edge and look at the incision. Check the wound twice a day, and make sure your dog can go outside to toilet without soiling the suit. Watch how your dog moves for the first few minutes, and loosen a snap or widen a leg hole if anything seems to pinch.
If This Happens, Try This
| If This Happens | Try This |
|---|---|
| The suit rides up toward the chest | Add a soft tie around the waist, or lengthen the back panel by 2 inches |
| Your dog chews at the suit | Check the fit, add a second layer over the chew spot, and offer a chew toy while you watch |
| The suit feels tight across the chest | Let out each side seam by 1/2 inch and try the fit again |
| The incision looks red, swollen, or wet | Take the suit off and call your vet the same day |
| Your dog will not walk in the suit | Let your dog wear it for 5 minutes indoors with treats, then build up the time |
Frequently Asked Questions
Can my dog wear a recovery suit overnight?
Only if your vet says yes. Check the wound before bed, and take the suit off if it feels damp or your dog seems hot or restless.
Can a recovery suit replace the cone?
For some belly and side wounds, yes, with your vet’s approval. For paws, ears, or the face, a cone still works better, since a suit cannot cover those spots.
How often should I wash the suit?
Wash it every day, or at once if it gets soiled. Sew a second suit from the start, so your dog always has a clean one ready.
What fabric works best?
Soft cotton jersey that stretches a little and lets air through. Skip stiff denim, rough wool, and any cloth with hard seams near the wound.
When should I call the vet?
Call at once if the wound looks red or swollen, smells bad, leaks fluid, or opens up, or if your dog stops eating, runs a fever, or seems in pain.
Quick Reference Card
What You Need: old cotton T-shirt, tape measure, chalk, scissors, pins, needle and thread or sewing machine, snaps or ties.
Steps:
- Ask your vet first
- Measure chest, back, and neck
- Pick soft fabric and wash it
- Trace a paper pattern
- Cut with 1 inch of seam room
- Sew seams and hem leg openings
- Add snaps or ties at the back
- Fit the suit and check the wound twice a day
Your dog now has a soft DIY dog surgery recovery suit that guards the wound and lets them rest in comfort. Keep a clean spare suit ready, check the incision twice a day, and follow your vet’s advice on rest and checkups. Healing takes time, and a calm dog heals better than a stressed one.
Pin this guide to your dog care board so it is there when you need it, and share it with a friend whose dog faces surgery soon.