
Store-bought probiotic powders cost a lot for a small tub, and the label rarely tells you what is actually inside. Learning how to make homemade probiotics for dogs gives you a plain, live-culture yogurt you made in your own kitchen, with two ingredients and no guesswork. Your dog gets the same kind of helpful bacteria, and you know exactly where it came from.
Probiotics are live, helpful bacteria that live in the gut and help with digestion. Plain yogurt carries two common types, Lactobacillus and Bifidobacterium, and the mild acid they make also helps keep the milk fresh while it sets. This guide makes plain yogurt from whole milk and a spoonful of starter yogurt, then shows you how to serve it in a safe, small amount.
The hands-on work takes about 20 minutes. The rest is waiting: 6 to 8 hours while the jars sit warm, then 4 hours in the fridge.
You need a saucepan, a thermometer, and two glass jars. No yogurt maker and no special cultures are needed.
A quick note before you start: check with your vet first if your dog is a puppy, is pregnant, takes medicine, or has a milk allergy or a sensitive stomach. Homemade yogurt is food, not medicine, and it does not replace vet care for a sick dog. If your vet says yes, this guide will walk you through each step.
Time and Difficulty
Total Time: about 9 hours (mostly waiting) | Active Time: 20 minutes | Difficulty: Beginner | Makes: about 4 cups
What You Need
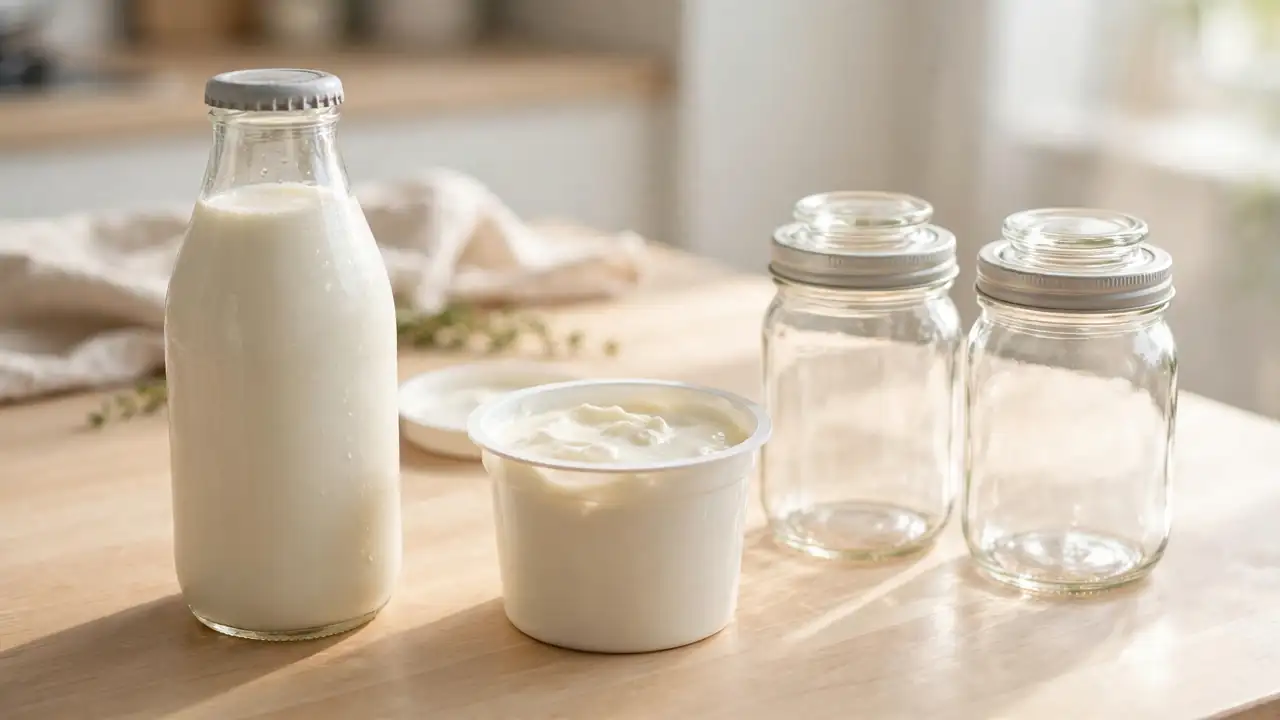
Ingredients: 4 cups whole milk, 2 tablespoons plain yogurt with live active cultures (your starter).
Tools: medium saucepan, kitchen thermometer, wooden spoon, 2 clean glass jars with lids, small bowl, ladle, thick towel, fridge space.
At a Glance
1. Pick plain milk and a live-culture starter. 2. Heat the milk to 180°F. 3. Cool the milk down to 110°F. 4. Stir in the starter yogurt. 5. Pour the mix into clean jars. 6. Keep the jars warm for 6 to 8 hours. 7. Chill the yogurt in the fridge. 8. Serve your homemade probiotics to your dog.
Pick plain milk and a live-culture starter
Whole milk gives the thickest result, because its fat helps the yogurt set firm. Skim milk works, but the yogurt stays runny.
Pick a small tub of plain yogurt and read the label: it must say live active cultures, and the ingredient list should show milk and cultures only. Flavoured yogurt, sweetened yogurt, and any tub with xylitol stay on the shelf, because xylitol is toxic to dogs.
Heat the milk to 180°F
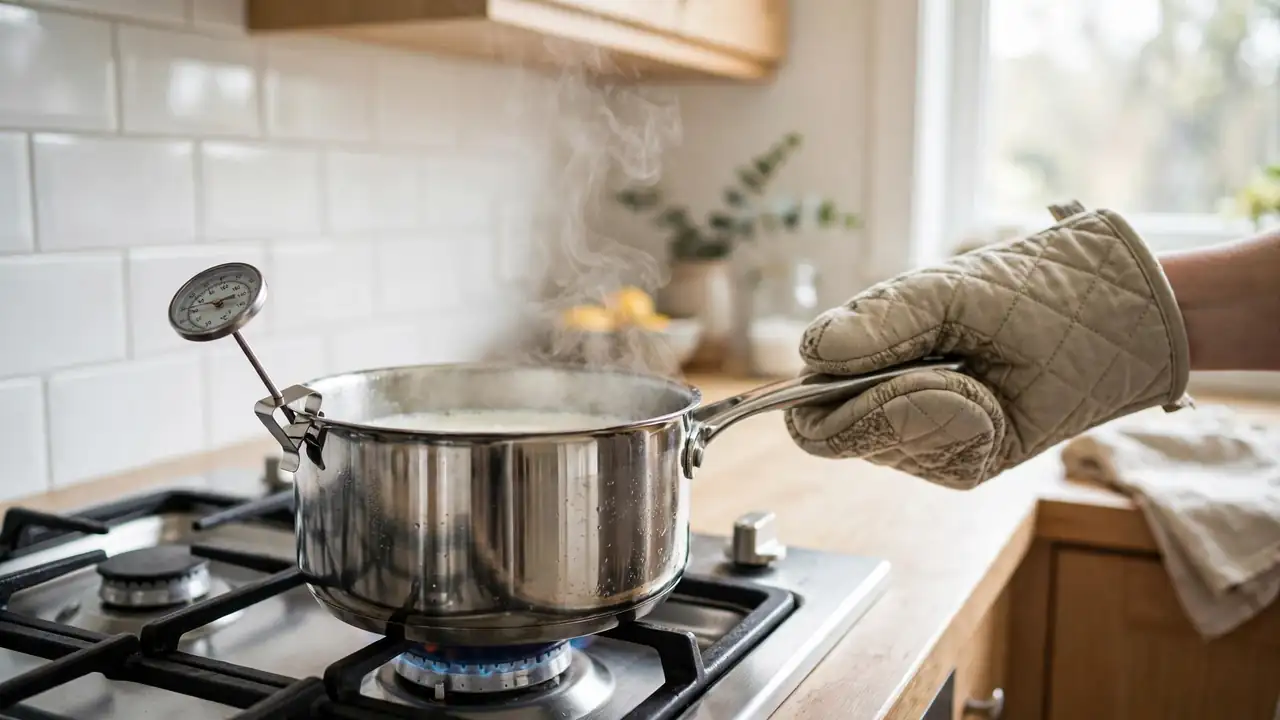
Pour the 4 cups of milk into a clean saucepan and set it over medium heat. Stir every minute or so with a wooden spoon so the milk heats evenly and does not catch on the bottom. Watch the thermometer climb toward 180°F.
This takes about 10 minutes. Heating the milk this hot changes its protein so the yogurt sets thick later, and it clears away germs that could fight your starter cultures.
Cool the milk down to 110°F
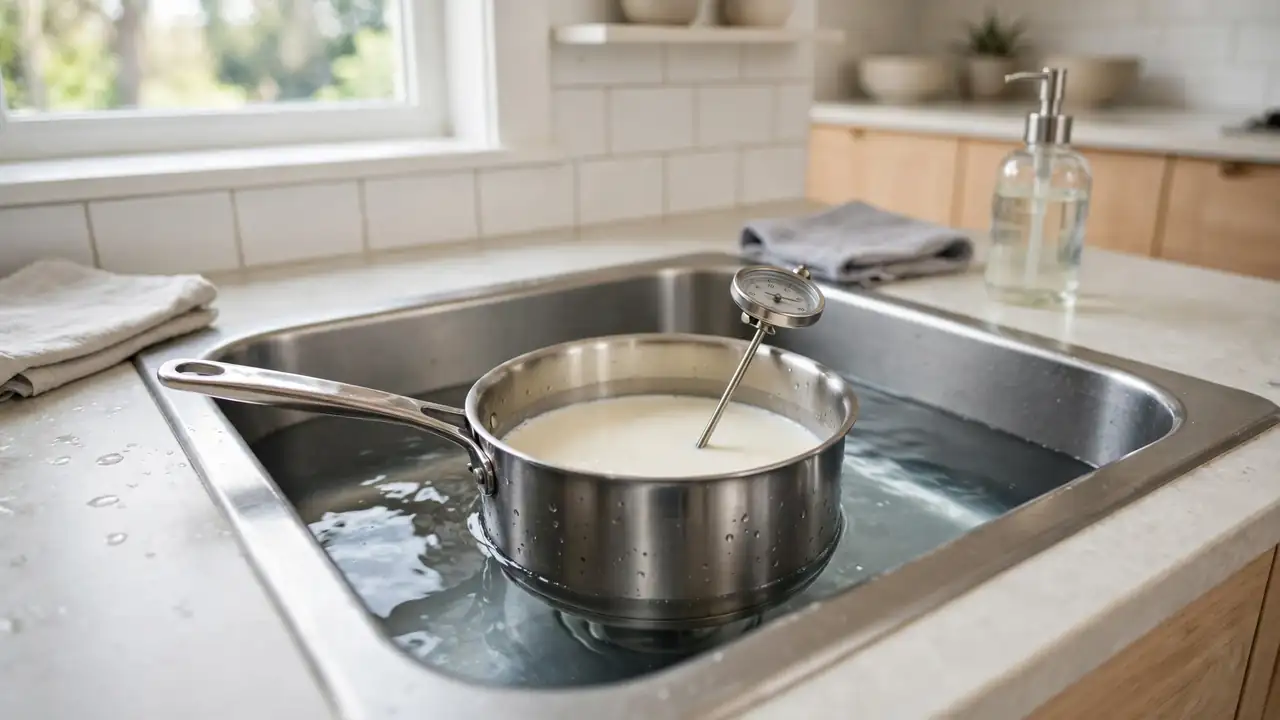
Hot milk kills the starter cultures, so the milk must cool before the next step. Set the pan in the sink with a few inches of cool water around it and stir now and then. Check the thermometer after about 5 minutes.
When it reads 110°F, lift the pan out and dry the outside. If the milk cools below 100°F, warm it gently back to 110°F. The cultures wake up best in that warm range.
Stir in the starter yogurt
Spoon 2 tablespoons of your plain starter yogurt into a small bowl. Add a ladle of the warm milk and whisk the two together until no lumps show.
Pour this mix back into the pan and stir it through the rest of the milk with slow, wide strokes. The starter spreads the live cultures through the whole batch, and a smooth mix gives you smooth yogurt with no grainy patches.


Paid Links - As an Amazon Associate, I earn from qualifying purchases.

Pour the mix into clean jars
Have two clean glass jars ready, with lids that close well. Divide the milk between them and leave about an inch of space at the top of each jar.
Put the lids on, but leave them a little loose so a small amount of air can move. Glass works better than plastic here, because it holds heat well and does not hold smells from past food.
Keep the jars warm for 6 to 8 hours
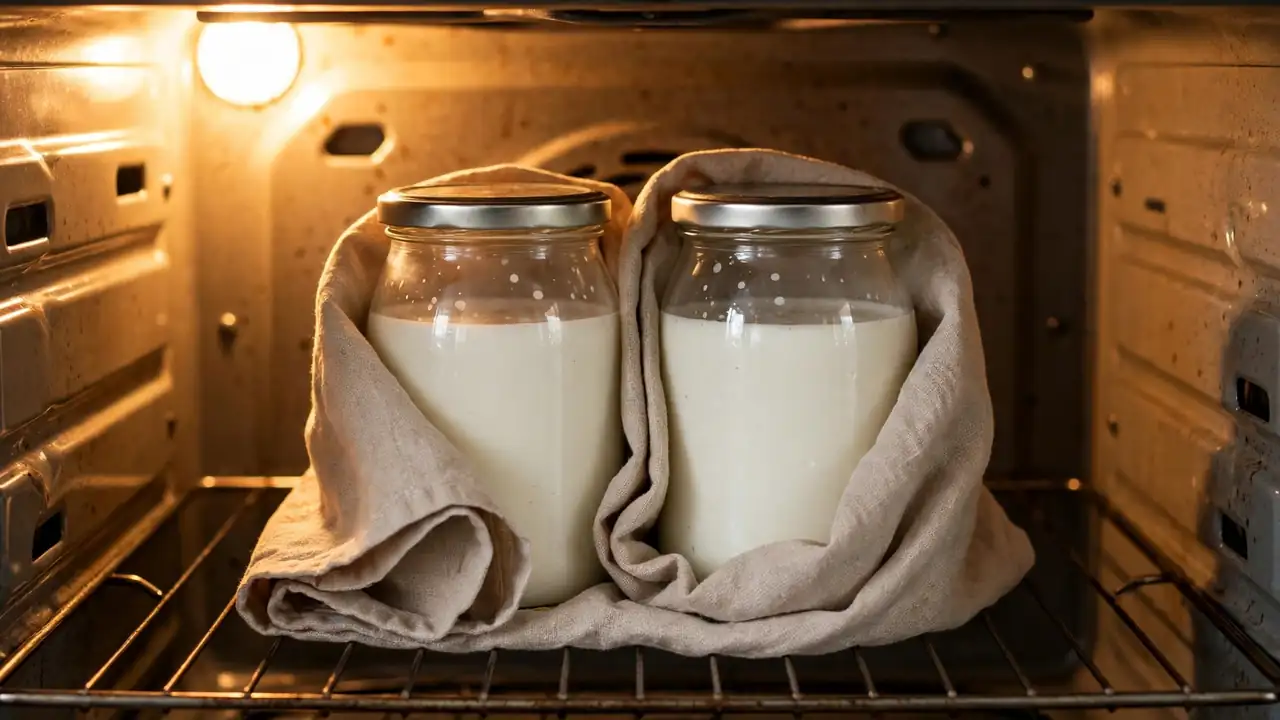
The jars need steady warmth for 6 to 8 hours. Set them in your oven with only the light on, and leave the door shut. An oven light holds the heat close to 110°F, which is the range the cultures like.
Do not move or shake the jars while they rest. If your oven has no light, wrap the jars in a thick towel and set them in a warm cupboard instead.
Pro Tip: Save 2 tablespoons of this batch in a small sealed jar before you serve any. It works as the starter for your next batch, so you only buy starter yogurt once.
Chill the yogurt in the fridge
After 8 hours, take a jar out and tilt it a little. The yogurt should hold its shape and pull away from the glass in one soft mass. Put the lids on tight and set both jars in the fridge.
Leave them alone for at least 4 hours. Cold firms the yogurt up and slows the cultures down, so the flavour stays mild instead of turning sharp.

Serve your homemade probiotics to your dog
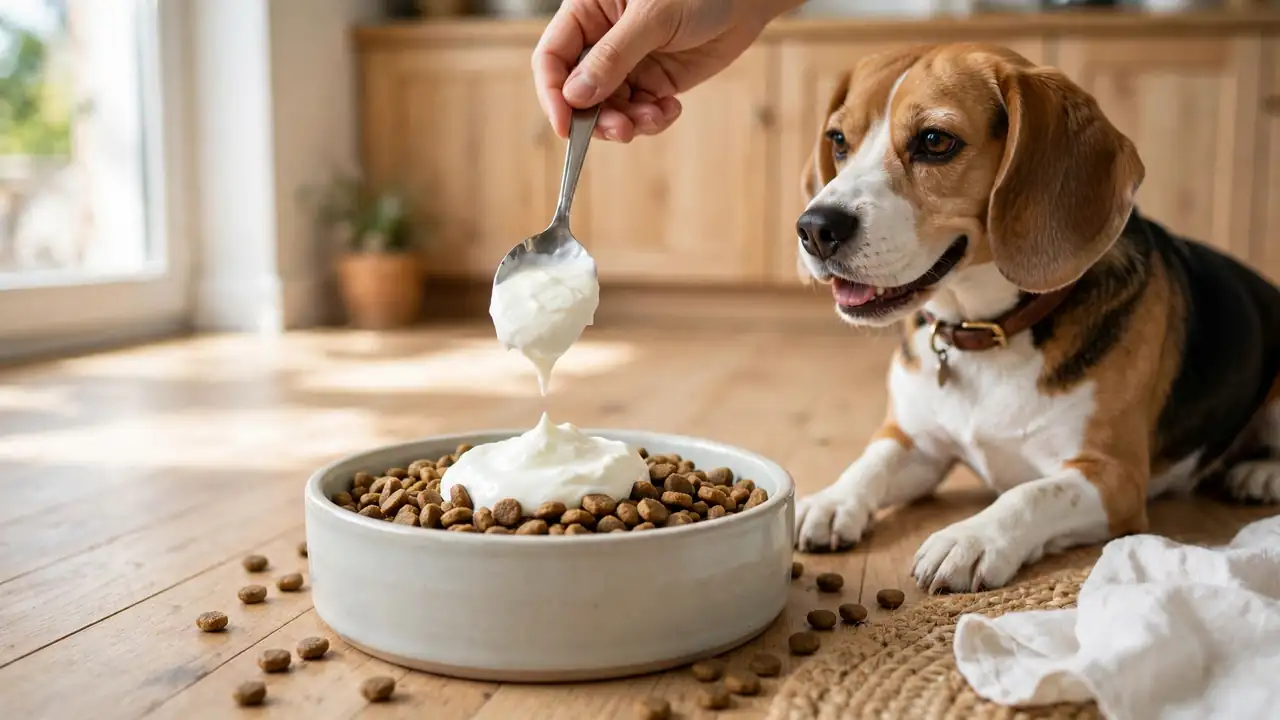
Start with a small spoonful on top of your dog’s normal food, and watch the stools for two or three days. A firm stool and a happy dog mean the amount suits them.
Ask your vet how much fits your dog’s size and health before you serve it every day, because the right amount varies a lot from dog to dog. Keep the rest sealed in the fridge and use it within 1 week.
Heads Up: Never serve yogurt with xylitol, chocolate, or artificial sweetener, and skip this recipe if your vet has told you your dog cannot have dairy. Loose stools after a new food mean you should stop and call your vet.
Troubleshooting
Yogurt is runny after 8 hours: Give it 2 more hours of warmth. If it is still runny, the milk may have cooled below 100°F, so warm the next batch back to 110°F before adding the starter.
Yogurt tastes very sour: It sat warm too long. Next time, check it at 6 hours and move it to the fridge as soon as it sets.
A skin formed on the milk: Lift the skin off with a spoon before you add the starter. Stirring the milk while it heats stops a thick skin from forming.
My dog will not eat it: Mix a smaller spoonful into wet food so the taste hides. If your dog still refuses, stop and ask your vet about other options.
Frequently Asked Questions
Can puppies have homemade probiotics?
Ask your vet first. Puppies have young digestive systems, and some vets prefer to wait until a puppy is older before adding yogurt or any new food.
How much homemade yogurt should I give my dog?
Start with a small spoonful and watch the stools for two or three days. Ask your vet for the amount that fits your dog’s size and health, because it varies from dog to dog.
How long does homemade yogurt keep?
Sealed in the fridge, use it within 1 week. If it smells sharp or looks pink or grey, throw it out and make a fresh batch.
Can I use non-dairy milk instead?
This method relies on milk sugars that the cultures feed on, so oat, almond, and soy milk do not set the same way. Stick with whole dairy milk, or ask your vet about a store-bought probiotic made for dogs.
Quick Reference Card
What You Need: 4 cups whole milk, 2 tablespoons plain yogurt with live active cultures, saucepan, thermometer, wooden spoon, 2 clean glass jars with lids.
Steps: 1. Pick plain milk and a live-culture starter. 2. Heat the milk to 180°F. 3. Cool the milk down to 110°F. 4. Stir in the starter yogurt. 5. Pour the mix into clean jars. 6. Keep the jars warm for 6 to 8 hours. 7. Chill the yogurt in the fridge. 8. Serve your homemade probiotics to your dog.
Serve: Start with a small spoonful, watch the stools for 2 to 3 days, and ask your vet for the right amount. Keep: Sealed in the fridge, use within 1 week.
You now have a jar of plain yogurt made from two simple ingredients, and you know every step that went into it. That is a small win for your dog’s bowl, and the next batch takes even less time, because you know the routine by heart.
If this guide helped you learn how to make homemade probiotics for dogs, save it to your dog health board on Pinterest so it is there when the jar runs low. Your dog will remind you.
